Essential Tips for Blush Selection
Blush can transform your look, especially if you have a round face. The key lies in picking the perfect blush placement for round face that complements your skin’s natural tones and texture.
Choosing the Right Shade
Select a shade that mirrors your natural blush. A color too dark or too light won’t look natural. Warm undertones shine with peachy hues, while cool undertones bloom with pink shades. Test shades on your skin to find your best match.
Selection Between Cream, Liquid, and Powder Blushes
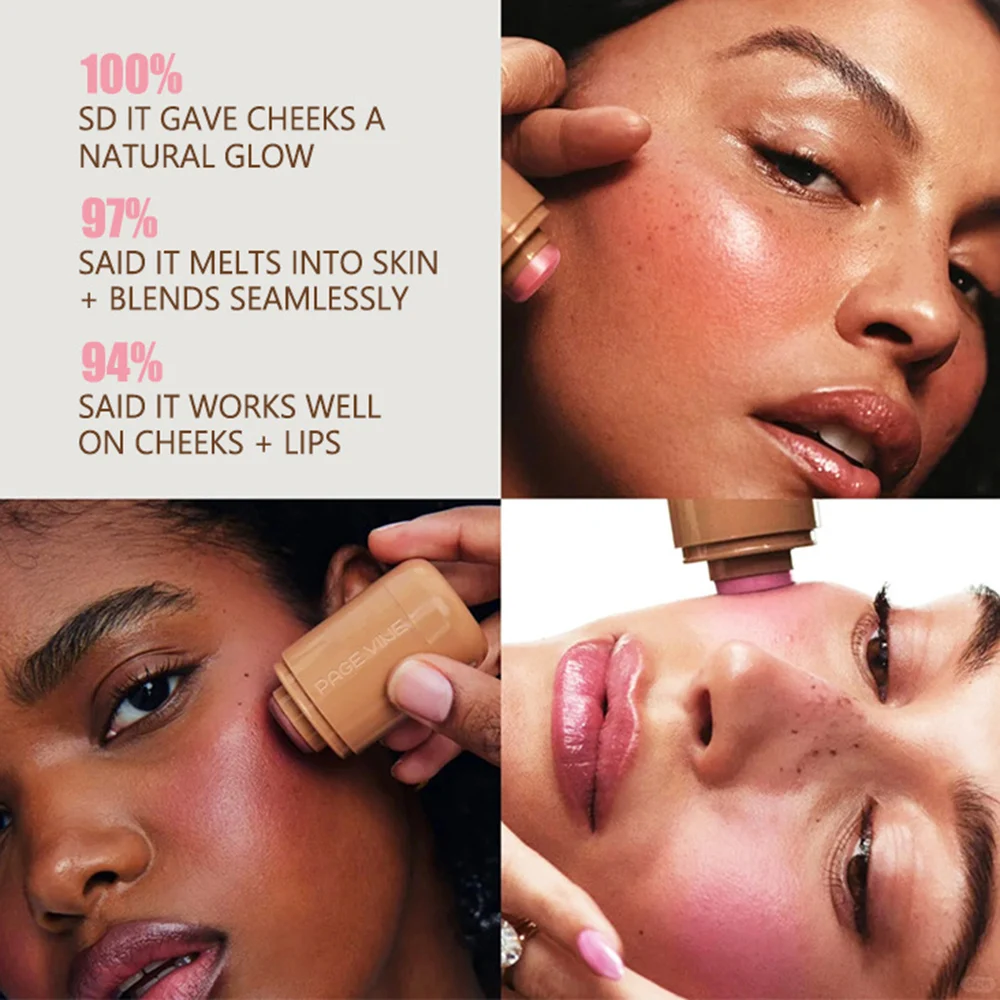
Your skin type matters when choosing a blush form. Oily skin types may prefer powder blushes for their matte finish. Dry or mature skin looks radiant with cream or liquid blushes that blend seamlessly. Try different types to see what feels right and gives you a glow that lasts. Keep it simple, and pick what works best for you.
Blush Techniques for a Round Face Shape
When working with a round face, the objective is to add definition and enhance structure.
Achieving Definition and Structure
Applying blush correctly can create the illusion of a more defined face. For round faces, avoid placing blush directly on the apples of the cheeks when not smiling, as this can make the face appear rounder. Instead, apply blush slightly above the apples, in line with the top of the ears, and blend towards the temples. This technique helps in sculpting the face and defining the cheekbones.
Creating the Illusion of Higher Cheekbones
High cheekbones are a coveted feature, and with proper blush placement, they can be simulated. Begin by locating the cheekbones and apply a color shade that is slightly darker than your natural tone. Sweep the blush from the ear downwards, making sure it doesn’t descend below the nose level. This lifted blush technique gives round faces a subtle, elongated effect, drawing the eyes upward and giving the illusion of higher cheekbones.
Strategic Blush Placement for Enhancing Features
To enhance your features with blush, consider your face shape. For round faces, strategic placement matters most.
Balancing a Round Face with Horizontal Placement
Balance a round face by using horizontal blush placement. Brush the blush along your cheekbones, extending to your ears. This technique draws the eye to your cheekbones, making your face seem wider.
Forward Placement to Narrow the Face Center
Narrow the center of your face by applying blush on the apples of your cheeks. This draws attention inward. Be careful not to spread the color too far out. Keep it centered to achieve the narrowing effect.
Blending Tips for a Flawless Finish
How to Blend Blush on Round Faces
Blending is crucial for a natural look. On round faces, start blending at the cheeks. Use gentle strokes to move upwards towards the ears. Keep blending until you see no harsh lines. For a diffused look, soften edges by sweeping the brush back towards the cheek’s center. Remember, less is more. Add blush gradually to avoid over-application. If you apply too much, use a clean brush to buff out the excess. The goal is to mimic a natural flush.
Tools for Perfect Blush Application
For a flawless application, the right tools are key. Use a fluffy brush for powders to ensure even distribution. Cream and liquid blushes work well with stippling brushes or sponges. Finger application is also an option, especially for creams. It gives warmth and helps the blush to melt into the skin. Always clean your tools regularly to prevent bacteria buildup and ensure a smooth application. No matter what tool you choose, blend well to achieve a seamless finish.
Adding Contour and Highlight to Complement Blush
When you have a round face, adding contour and highlight can elevate your look. These techniques define and enhance your best features, creating more depth and dimension.
Contouring Strategies for Round Faces
To contour a round face, use a matte bronzer or contour product. Choose a color two shades darker than your skin tone. Apply it in the shape of a ‘3’ along the sides of your forehead, under your cheekbones, and along your jawline. This creates shadows that give the appearance of a more sculpted face. Keep the lines soft and blended. Avoid harsh edges.

Highlight Placement to Accentuate the Cheeks
Highlighting brings light to your face, making your cheekbones pop. Use a shimmering highlighter on the high points of your cheeks. Blend it up towards your temples. Also, add a small amount on your brow bones and the bridge of your nose. This draws attention to your eyes and complements your blush placement. Use a light hand for a subtle glow. Too much shine can overwhelm a round face.
The Do’s and Don’ts of Blush Application
Achieving a flawless blush look involves more than just selecting the right shade and texture. Here’s how to ensure your blush not only complements your round face but also enhances your overall makeup.
Common Mistakes to Avoid
When applying blush to a round face, be careful not to:
- Place blush too low on your cheeks as it can drag the face down.
- Use too much product, creating an overpowering look rather than a subtle flush.
- Skip blending, which can result in harsh lines and an unnatural appearance.
Steer clear of these mistakes for a more sculpted and balanced look.
Best Practices for a Natural Look
For a blush application that looks effortless:
- Always start with a light hand and build color gradually.
- Focus on the upper half of your cheeks to lift and define your face.
- Use upward strokes while blending to maintain the illusion of higher cheekbones.
- Match the blush tone with your skin’s undertone for a cohesive look.
Follow these best practices to create a natural, flattering blush that suits your round face perfectly.
Final Touches: Setting Your Blush for Longevity
Ensuring your blush lasts all day involves selecting the right setting products and applying them effectively.
Choosing the Right Setting Products
After applying blush to a round face, set it with the right product. Use a translucent setting powder for a matte finish. For extra staying power, a setting spray can lock makeup in place. Pick formulas suitable for your skin type. Oily skin benefits from oil-control products, while dry skin needs hydrating ones.
Techniques to Keep Your Blush in Place All Day
Use a fluffy powder brush to gently dab setting powder over your blush. This doesn’t disrupt the color and keeps it in place. Apply setting spray in an ‘X’ and ‘T’ pattern over your face for full coverage. Keep your movements light and let the spray dry naturally. Touch-up throughout the day if needed, with a portable brush or mini spray. By using these techniques, your blush will maintain a fresh look from morning till night.
Common Mistakes to Avoid
Overapplying Blush
One common mistake is applying too much product. With round faces, it’s essential to start with a light hand. You can always build up the color if needed. Too much blush can emphasize roundness rather than creating the desired sculpted effect.
Ignoring Blending
Another mistake is not blending properly. Harsh lines can draw attention to the roundness of the face. Always take the time to blend your blush well into your foundation. Use a clean brush or sponge to soften any edges for a flawless finish.
Incorrect Face Angles
Applying blush without considering your face shape can lead to unflattering results. Remember to focus on the diagonal placement rather than applying blush horizontally across the cheeks. This can make the face appear even rounder.
Enhancing Your Look with Highlighter and Contour
Adding Depth with Contouring
Contouring is a fantastic way to add dimension to your round face. Use a contour shade that is a few shades darker than your skin tone. Apply it along the jawline, sides of the forehead, and under the cheekbones. This technique helps create shadows that can make your face appear slimmer and more defined.
Highlighting for a Glow
Highlighter can also enhance your blush placement. Apply highlighter to the tops of your cheekbones, the bridge of your nose, and the Cupid’s bow. This placement helps draw attention to the areas you want to highlight, creating a healthy, radiant look that complements your blush.
Blush for Different Occasions
Everyday Wear
For everyday wear, keep your blush light and natural. A soft peach or pink shade applied lightly on your cheeks can brighten your face without looking overdone. Aim for a fresh, effortless look that enhances your natural beauty.
Special Events
For special occasions, you can amp up your blush a bit. Choose a more vibrant color and build it up gradually. Make sure to pair it with a bold lip or eye makeup to create a balanced look. The key is to ensure your blush complements your overall makeup while still highlighting your features.
Seasonal Adjustments
As seasons change, so should your blush approach. In spring and summer, opt for brighter, more vibrant colors. Warm corals and soft pinks can evoke a fresh, lively vibe. In fall and winter, consider deeper shades like berry or plum, which can add a cozy warmth to your complexion.
Maintaining Your Blush Throughout the Day
Setting Your Blush
To keep your blush looking fresh all day, consider setting it with a translucent powder. Lightly dust the powder over your blush to lock it in place. This technique not only ensures longevity but also helps absorb excess oil throughout the day.
Touching Up
If you notice your blush fading throughout the day, don’t hesitate to touch up. Carry a small mirror and your blush product with you for quick fixes. Just remember to blend well to avoid a patchy appearance.
Using Setting Spray
A setting spray can also help your makeup last longer. After completing your makeup routine, spritz a light layer over your face. This keeps your blush looking vibrant and fresh, regardless of the weather conditions.