Creating your own liquid blush can be an exciting and fulfilling endeavor. It not only allows you to control the ingredients but lets you customize textures and shades. In this article, we’ll guide you step-by-step on how to make liquid blush. You’ll learn about the ingredients, tools, and techniques needed to create a perfect blush that enhances your natural beauty.

Understanding Liquid Blush
What is Liquid Blush?
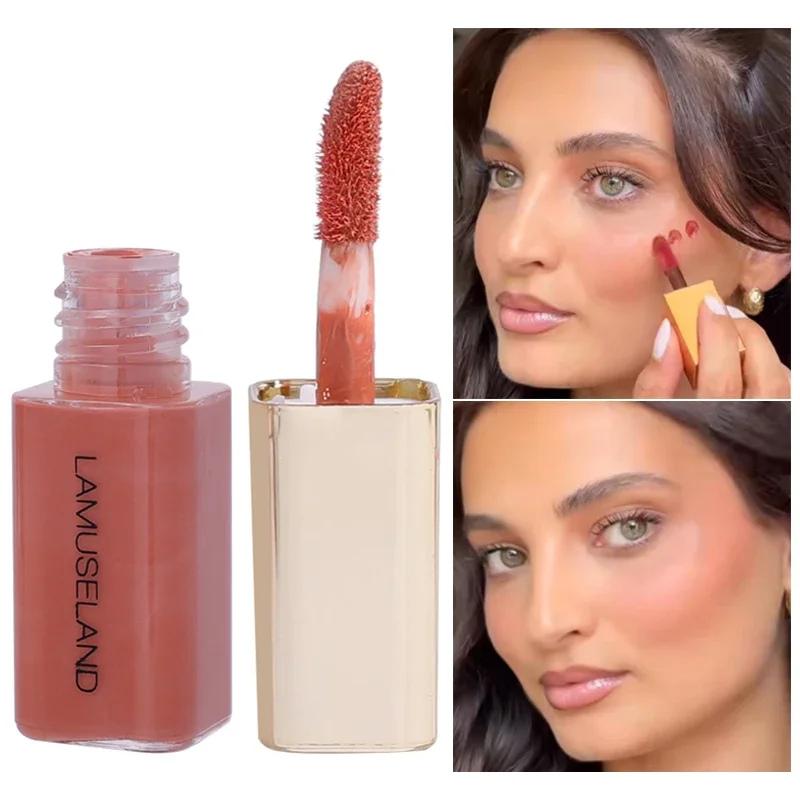
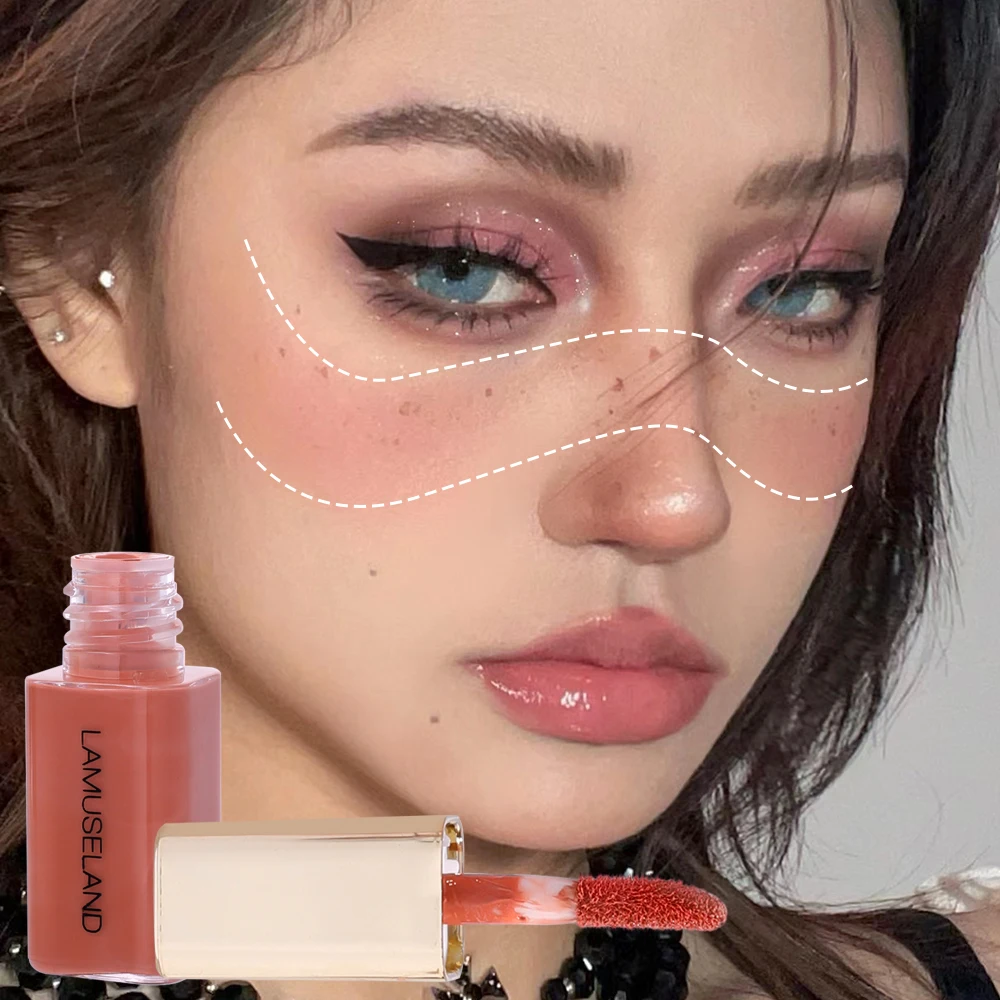
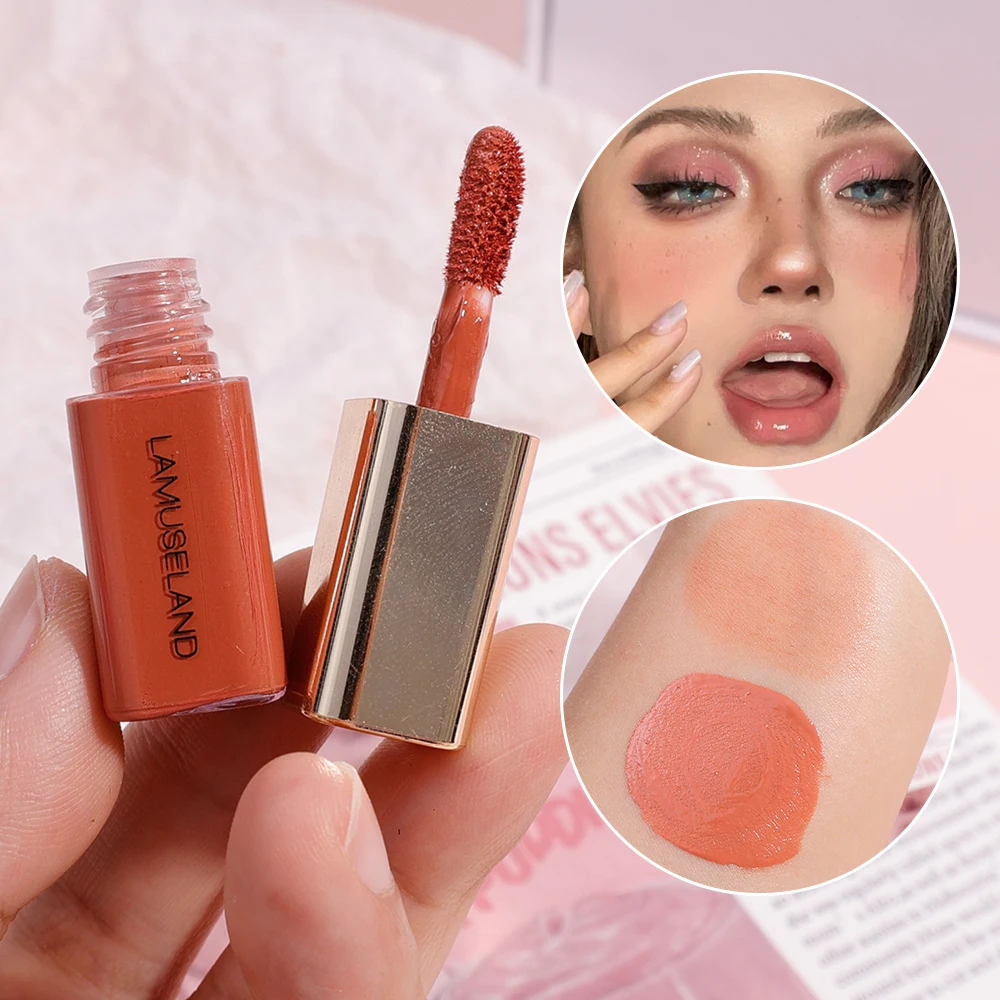
Liquid blush is a lightweight makeup product that adds a natural flush to the cheeks. Unlike powder blush, liquid formulas blend effortlessly into the skin. They often provide a dewy finish, making the skin look fresh and radiant. Liquid blush usually comes in small bottles or tubes. You can apply it directly to your skin or mix it with other products, like foundation or moisturizer.
Benefits of Using Liquid Blush
One of the greatest benefits of liquid blush is its versatility. You can build up the intensity to your liking. A dab here and there can create a subtle look. However, if you want a bolder pop of color, you can easily add more product. Additionally, liquid blush often includes hydrating ingredients. These can nourish the skin while adding color, making it a two-in-one product.
Why Make Your Own?
Making your own liquid blush gives you total control over the ingredients and colors. Many commercial products contain synthetic dyes, preservatives, or fragrances that can irritate the skin. By making your own, you ensure that you use natural and skin-friendly ingredients. You can also experiment with different pigments and essential oils to find a formulation perfect for you.
Essential Ingredients for DIY Liquid Blush
Colorants
The primary function of any blush is to add color. For liquid blush, you can use a variety of pigments to achieve the desired shade. There are liquid pigments available in craft stores or online. You can choose from various colors and formulations that suit your skin tone. Natural options include beet juice, hibiscus powder, or cocoa powder. These add not only color but also nutrients to your blush.
Base Ingredients
Your liquid blush will need a base to hold everything together. Common choices include aloe vera gel, serum, or natural oils. Aloe vera gel gives a lightweight feel and hydration. A serum can nutrient-rich and great for the skin. Natural oils provide a lovely sheen and can offer benefits like moisturizing properties. Choose the base that suits your skin type, whether oily, dry, or combination.

Preservatives (Optional)
If you plan to store your liquid blush for an extended period, consider a preservative to avoid spoilage. Natural preservatives, such as vitamin E oil, can extend the shelf-life without harsh chemicals. If you use a fresh ingredient like beet juice, it’s best to use the blush within a few weeks or keep it in a cool environment.
Tools You Will Need
Containers
You’ll need small containers to hold your liquid blush. Glass dropper bottles are ideal because they allow for precise application and prevent contamination. You can also use small jars or squeeze bottles. Ensure that whatever you choose is clean and sterilized.
Mixing Tools
To blend your ingredients, you will need measuring spoons or a scale for accuracy. A small whisk or spatula is great for mixing everything together until fully incorporated. If you want a smoother texture, an immersion blender can help achieve that.
Application Tools
While your fingers can do the job, using a makeup sponge or brush can give you better control over application. You can also use a beauty blender to blend the product seamlessly into your skin.
Step-by-Step Instructions to Make Liquid Blush
Step 1: Gather Your Ingredients and Tools
Start by gathering all the necessary ingredients and tools. Make sure your work area is clean. This ensures that your blush remains uncontaminated. Lay out your containers, mixing utensils, and ingredients for easy access.
Step 2: Choose Your Color
Decide on the shade you want for your blush. If you’re using powdered pigments, start with a small amount and gradually add more until you achieve the desired shade. If you’re working with liquids like beet juice, start with a few drops. You can increase the amount for a bolder shade. Mix it in a small bowl to see how it looks.
Step 3: Prepare Your Base
In a separate bowl, measure out your base ingredient. If using aloe vera gel, start with a tablespoon. If you’re opting for a serum or oil, adjust the amount based on your preference. You can experiment with ratios until you find the consistency that feels right to you.
Step 4: Combine Color and Base
Slowly add your chosen color to the base. Use your mixing tool to incorporate it entirely. Pay attention to the texture; you want a smooth consistency. If your mixture feels too thick, you can add a few drops of water or additional base to thin it out. Keep mixing until fully blended.
Step 5: Add Optional Preservatives
If you want to extend the shelf-life of your liquid blush, stir in a few drops of your chosen preservative. This step is especially important if you included perishable ingredients, like fruit juices. Mix thoroughly to ensure even distribution.
Step 6: Transfer to Containers
Once you’re satisfied with your blush, carefully transfer it into your storage containers. Use a pipette or funnel if necessary. Seal the containers tightly to prevent any air from getting in, which could lead to spoilage.
Step 7: Test It Out
Before applying all over your cheeks, test the product on a small area first. This step is particularly important if you have sensitive skin. Make sure the color and texture are to your liking. Adjust the shade or consistency if needed.
Tips for Application and Storage
Application Techniques
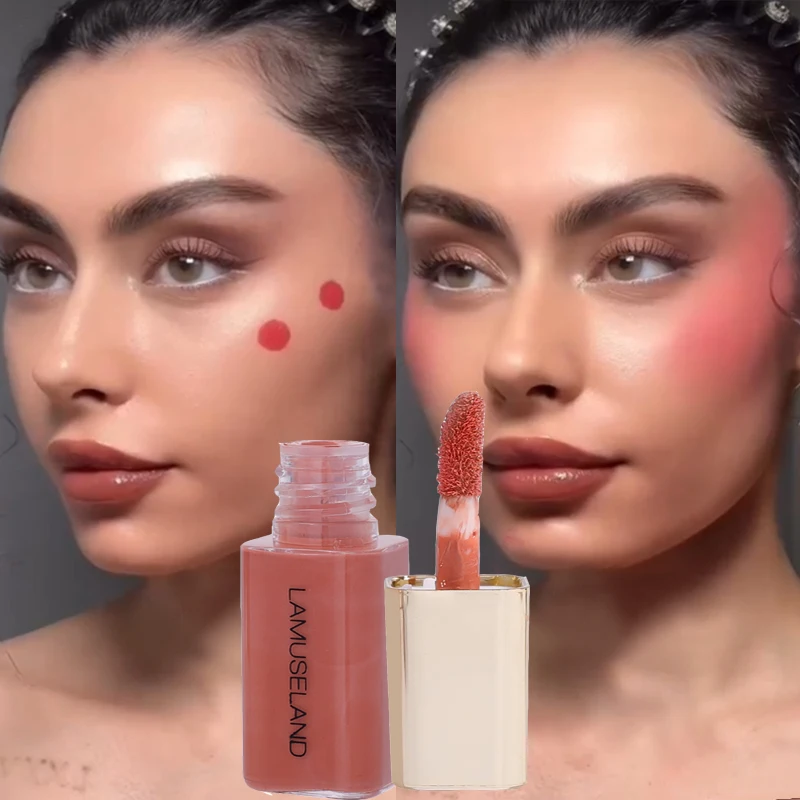
When applying your liquid blush, less is often more. Start with a small amount and blend it onto the apples of your cheeks using a sponge or your fingertips. You can build up the color gradually. For a more natural look, blend it well towards the temples. If you prefer a bold look, apply in layers until you reach your desired intensity.

Layering with Other Products
Liquid blush can complement your other makeup products beautifully. You can apply it before or after foundation, depending on the look you wish to achieve. If you apply it before, you’ll have a more natural flush. If applied after, it can provide a striking contrast. You can also layer it with highlighters for added luminosity.
Storage Tips
Store your DIY blush in a cool, dark place. Light and heat can degrade natural ingredients. Keep the container tightly sealed to avoid contamination. Most homemade liquid blushes will last about two to four weeks. If you notice any changes in color, smell, or texture, discard it immediately.
Troubleshooting Common Issues
Blush Is Too Thick
If your blush is too thick, add a small amount of water or your base ingredient. Stir thoroughly until it reaches your desired consistency. If you used powdered pigments, keep in mind that sometimes, they can result in a thicker texture. A small amount of liquid can usually resolve this.
Blush Is Too Sheer
If you find the color too sheer, add more pigment to your mixture. Mix well to ensure it’s evenly distributed. Remember, you can always build up the color, but starting conservatively is wise to avoid overwhelming undertones.
Separation Over Time
Natural ingredients can separate over time. If this happens, it’s perfectly normal. Simply shake well before each use to re-emulsify the product. Store in a bottle that can be shaken easily for maximum effectiveness.
Skin Reactions
If you experience any irritation or redness after using your homemade liquid blush, discontinue use immediately. Natural ingredients can still cause reactions in sensitive individuals. Always perform a patch test before applying new products extensively.
Conclusion: Your Custom Liquid Blush Awaits
Creating your own liquid blush is not only straightforward but also a fun activity. This DIY project allows you to experiment with colors and formulations, giving you the creative freedom to design a product perfectly suited to your style and skin type. Plus, with all-natural ingredients, you can feel good about what you’re applying to your skin.
Don’t hesitate to adapt and modify the formula to meet your preferences. Try different pigments and bases to discover new shades and finishes. As you become more comfortable making your own makeup, you’ll likely find additional ways to personalize your beauty routine. So stock up on your ingredients, gather your tools, and get ready to make your very own liquid blush!
