Introduction
Applying concealer can transform your look and give you the confidence to face the day. It hides imperfections, brightens the complexion, and creates a flawless canvas for makeup. Whether you want to cover blemishes, dark circles, or redness, understanding how to apply concealer effectively can make a significant difference in your beauty routine. This article provides you how to apply concealer and tips to help you master concealer application.
Step 1: Preparing Your Skin
Cleanse and Tone for a Smooth Base
Before applying concealer, start with a clean slate. Use a gentle cleanser to remove dirt, oil, and makeup residue from your face. This ensures a smooth and even surface for concealer application. Following cleansing, use a toner. This helps tighten pores and refine the skin’s texture, making it the perfect canvas for concealer.

Hydrate Your Face and Undereye Area
Next, focus on hydration. Properly moisturized skin does not only prevent concealer from settling into fine lines; it also helps achieve a radiant-looking complexion. Apply a lightweight moisturizer all over your face. Pay extra attention to the undereye area, which tends to be drier. Consider using an eye cream specially formulated to hydrate and plump this delicate area. This step ensures your skin is adequately prepped for a flawless concealer application, ensuring it looks seamless and vibrant.
Step 2: Prime Your Skin
Proper priming is key to a flawless concealer application. A primer prepares your skin by smoothing fine lines and pores. It creates a barrier that keeps makeup in place all day.
Choosing the Right Primer for Your Skin Type
When selecting a primer, consider your skin’s needs. Here’s a brief guide:
- For dry skin, choose a hydrating primer that adds moisture.
- Oily skin benefits from a mattifying primer that controls shine.
- Sensitive skin? Look for a primer with soothing ingredients.
- Combination skin may need a balancing primer that addresses different areas.
Select a primer that enhances the concealer’s performance for your specific skin type. This step ensures longevity and a smooth foundation for the concealer to adhere to.
Step 3: Understanding Concealer Shades
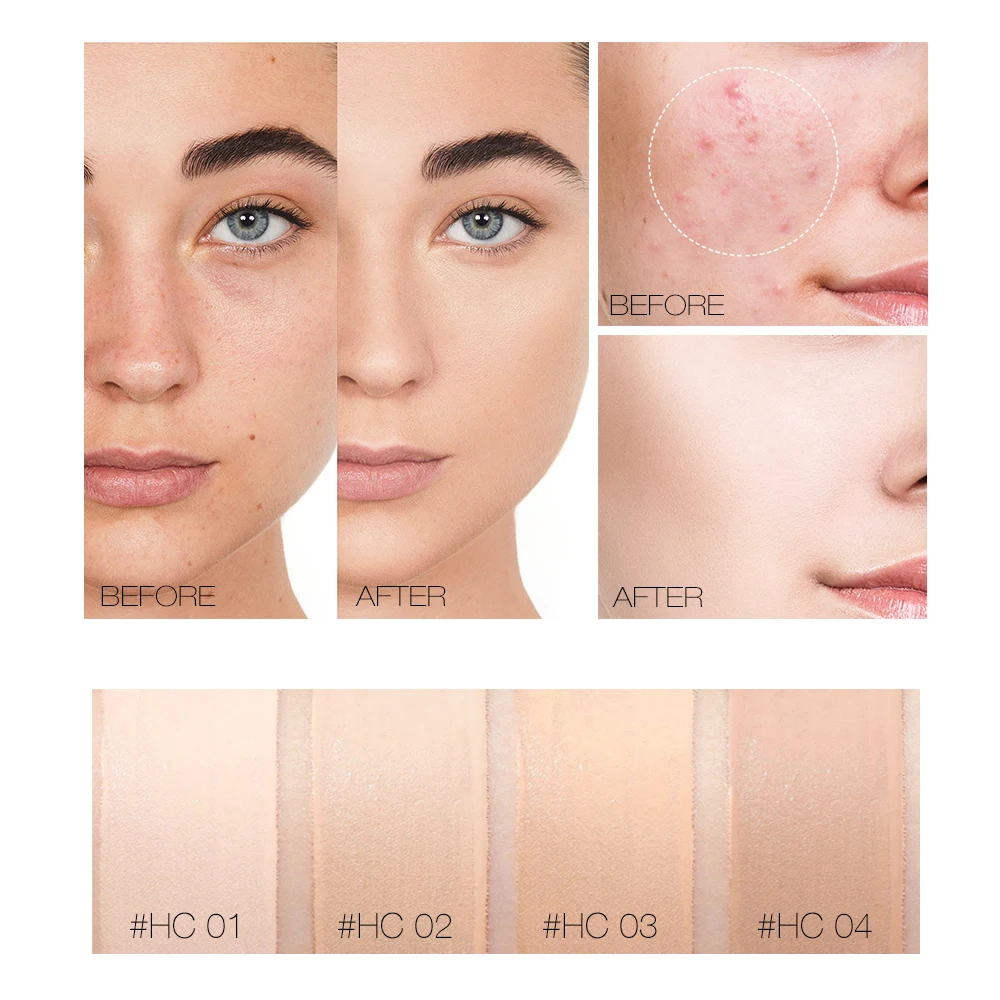
Choosing the correct shade of concealer is a crucial step in creating a flawless finish. It’s essential to select shades that closely match your natural skin tone for spot concealing. This helps to achieve a seamless blend with your overall complexion and ensures that blemishes and imperfections are effectively camouflaged without drawing attention.
Match Your Skin Tone for Spot Concealing
For spot concealing, find a concealer that matches your skin tone exactly. This will conceal imperfections without appearing obvious. Apply the product with precision using a small brush or a pointed applicator. Blend gently around the edges to create a natural, indistinguishable coverage that doesn’t highlight the spot but rather makes it disappear.
Brightening the Under-Eye Area
When targeting the under-eye area, it’s best to use a concealer one shade lighter than your skin tone. This lightens and lifts the appearance of dark circles. Apply the concealer in a triangular shape beneath the eye and blend well. This technique not only conceals but also creates a subtle highlight that rejuvenates the entire eye area.

Step 4: Choosing the Correct Concealer Formula
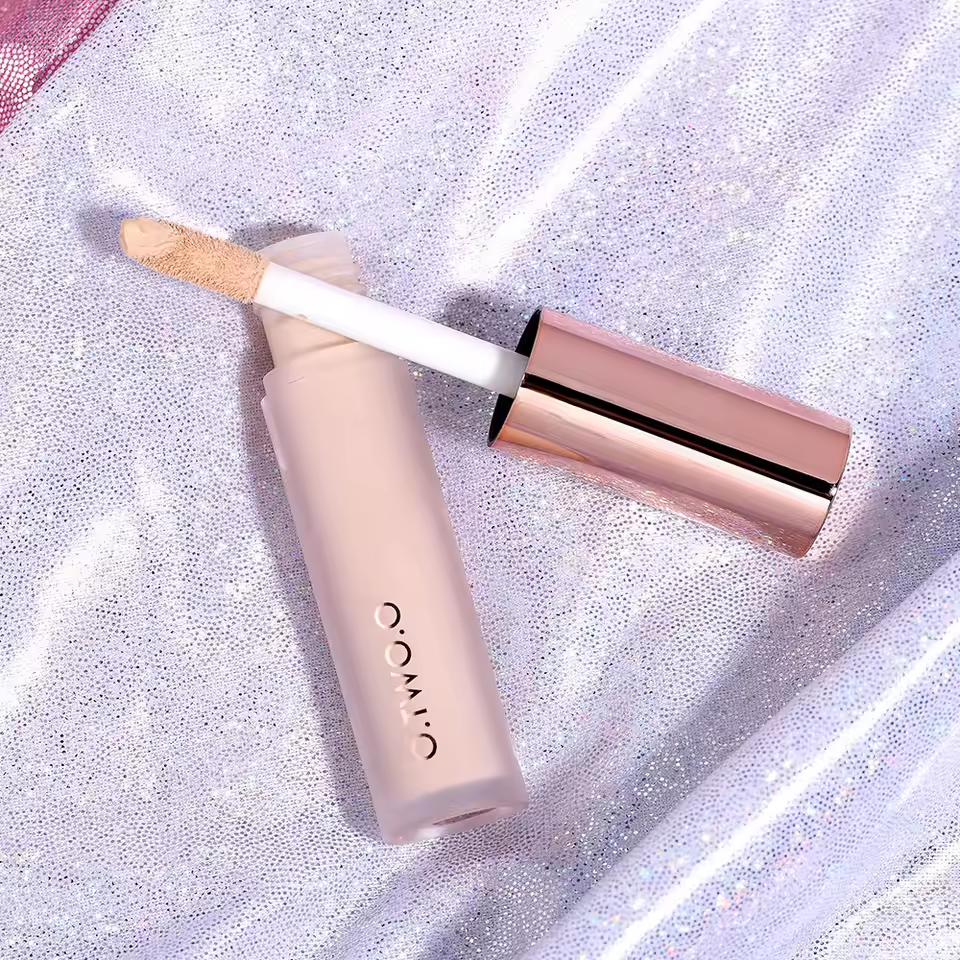
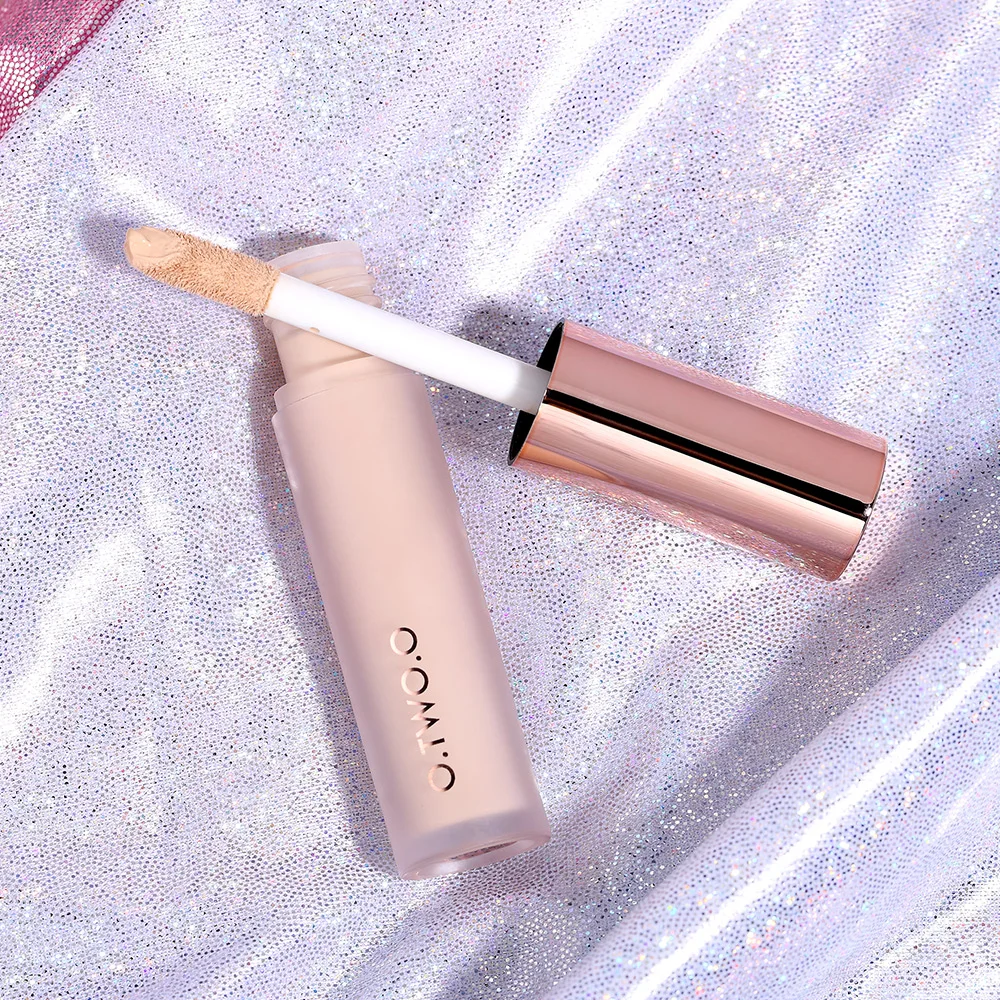
When searching for the perfect concealer, you’ll find two popular types: liquid and stick. Both have their advantages and suit different needs. Understanding the pros and cons of each can help you decide which is best for your makeup routine.
Liquid vs. Stick Concealers: Pros and Cons
Liquid Concealers: Pros
- Ideal for a natural look and perfect for building coverage.
- Works well on dry or combination skin.
- Easy to blend, making it suitable for larger areas.
Concealers: Cons
- May require setting with powder to last longer.
- Can crease in fine lines if not properly set.
Stick Concealers: Pros
- Offers a thick, creamy texture that provides high coverage.
- Good for targeted application on blemishes and imperfections.
- Convenient for touch-ups throughout the day.
Stick Concealers: Cons
- Can appear heavy or cakey if overapplied.
- Might not be the best for very dry skin, as it can highlight dry patches.
Choose a liquid concealer for a luminous finish and light layering. Opt for a stick concealer for precise coverage and easy on-the-go applications. Always consider your skin type and the specific issue you wish to address when making your choice.
Step 5: Application Techniques for Seamless Coverage
Achieving flawless concealer application involves using the right technique. Whether you prefer full coverage or a more natural look, your application method matters greatly. Here are some tips for applying concealer to achieve seamless coverage, depending on your desired effect and specific needs.
Using a Makeup Sponge for Full Coverage
For those who need full coverage, using a makeup sponge is the way to go. Here’s how:
- Dampen the sponge with water to prevent it from absorbing too much concealer.
- Apply small dots of concealer on areas you wish to cover.
- Use dabbing motions to blend the concealer into your skin. This gives a smooth, high-coverage finish.
The damp sponge helps apply concealer evenly, preventing heavy buildup and ensuring long-lasting wear.

Applying with Fingers for Lighter Coverage
For lighter coverage, your fingers are your best tool:
- Make sure your hands are clean to avoid transferring bacteria.
- Apply small amounts of concealer to targeted areas.
- Gently pat the concealer into your skin using your fingertip.
The warmth from your fingers helps blend the concealer smoothly, giving a more natural finish. This method is perfect for quick touch-ups or minimal concealing.
Spot Treatment and Blurring Imperfections
To precisely address spots and imperfections, follow these steps:
- Choose a concealer that matches your skin tone to avoid highlighting the blemish.
- Use a small brush to apply concealer directly on the spot.
- Blend around the edges without spreading the product over a large area.
This targeted application helps conceal without adding unnecessary layers, keeping your makeup light and natural-looking. Whether using a sponge, fingers, or a brush, always set your concealer with a light dusting of setting powder to extend its longevity and prevent creasing.
Step 6: Setting Your Concealer
To keep your concealer in place, you need to set it properly. Here are some tips for selecting the right setting powder and applying it for enduring wear.
Selecting the Right Setting Powder
Choosing a good setting powder is important for a flawless finish. Consider these factors:
- For oily skin, look for a mattifying powder to control shine.
- If you have dry skin, select a hydrating powder to prevent a cakey appearance.
- For a luminous effect, choose a powder with light-reflecting particles.
- Transparent powders work well for all skin tones, while tinted powders should match your complexion.
Find a powder that complements your skin type and concealer for a smooth, lasting finish.
Application Tips for Long-Lasting Wear
To make your concealer last, apply the setting powder carefully:
- Use a soft powder brush or a puff for precise application.
- Press, don’t sweep, the powder onto the areas with concealer.
- Apply a light layer to avoid buildup.
- Focus on areas prone to creasing, like under eyes and around the nose.
By pressing the powder into the skin, you’ll lock in the concealer without adding texture. This step helps maintain a clean, weightless look throughout the day.
Step 7: Advanced Concealer Tricks
Unlock the full potential of your concealer with these advanced tips. Enhance your makeup skills and discover new uses beyond basic coverage.
Concealer as an Eyeshadow Primer
Start by applying a thin layer of concealer over your eyelids. This creates a smooth base for eyeshadow, boosting color vibrancy and longevity. Use a durable, crease-proof concealer to prevent smudging and fading throughout the day.
Sculpting and Enhancing Facial Features
Concealer is great for contouring and highlighting. To sculpt, use a concealer two shades darker than your skin tone along cheekbones, jawline, and temples. For highlighting, apply a lighter shade on the high points of your face, such as the brow bones and cheekbones. Blend well to define your features subtly.
Quick Fixes for Grooming and Brightening
Concealer can tidy up brow lines or define a beard edge by applying it alongside the hairs and blending. To brighten your look, dab a little concealer on the inner corners of your eyes or blend it over any dark spots. This trick adds instant light to your face.
Conclusion
Mastering concealer application takes practice and patience. By choosing the right type and shade, preparing your skin properly, and employing effective application techniques, you can achieve a flawless look. Touching up during the day and ensuring a proper cleansing routine can further keep your skin in great shape. With this comprehensive guide, you are well-equipped to elevate your makeup game and embrace your natural beauty with confidence. Enjoy the art of makeup, and know that with each brush stroke, you create your own unique masterpiece.
