Essential Tools for Perfect Eyeshadow Application
How to put on eyeshadow? Applying eyeshadow like a professional starts with the right tools. Here are essential items you need:

- Eye Primer: This is the base for your eyeshadow. It ensures a smooth canvas and long-lasting wear.
- Eyeshadow Brushes: Get a variety of brushes. You’ll need at least a flat brush for application, a fluffy brush for blending, and a precision brush for detailing.
- Quality Eyeshadows: Invest in pigmented shadows that blend well. Consider different finishes like matte, shimmer, and glitter.
- Eyeshadow Palette: A palette offers a range of colors coordinated for you. It’s perfect for creating multiple looks.
- Blending Sponge or Clean Finger: Sometimes your tools can be as simple as a clean finger for blending or applying a pop of shimmer.
- Mirror: Ensure it’s large enough that you can see your entire eye area comfortably.
With these items, you’re on your way to mastering how to put on eyeshadow with precision and ease. Keep your tools clean and in good condition for the best results. Next, we’ll move on to preparing your eye area to receive the eyeshadow.
Prepping the Eye Area
Before you learn how to put on eyeshadow, preparing the eye area is crucial. This step ensures your eyeshadow application is flawless and enduring. Follow these simple tips for the best results:
- Cleanse Your Eyes: Use a gentle cleanser to remove any oils or residue. This will help the eye primer adhere better.
- Apply Eye Primer: Dab on a small amount of eye primer and blend it over your entire eyelid. A primer prevents creasing and helps your eyeshadow last longer.
- Hydrate the Area: If you have dry skin, apply a lightweight eye cream. Allow it to absorb fully before applying eyeshadow.
- Conceal if Necessary: Use a concealer to cover any discoloration or dark circles. This step creates an even canvas, enhancing eyeshadow color.
By prepping your eye area, you ensure that the skin is primed for color. A well-prepared eye area allows for smoother application and improved eyeshadow durability. With these steps complete, you can move on to selecting eyeshadow types and mastering basic techniques.
Understanding Eyeshadow Types and Textures
As you learn how to put on eyeshadow, knowing the different types and textures is vital. They affect the look and ease of application. Here are the common ones you’ll encounter:
- Matte Eyeshadows: These have no shine or shimmer. They absorb light, making them great for a natural look or defining the crease.
- Shimmer Eyeshadows: Shimmers reflect light, adding brightness to the eye. Use them for highlighting the inner corner or the center of the lid.
- Metallic Eyeshadows: These are highly reflective and provide a foil-like finish. They create a bold, glam look, perfect for special occasions.
- Satin Eyeshadows: Satin finishes offer a subtle sheen. They hit the middle ground between matte and shimmer, suitable for everyday wear.
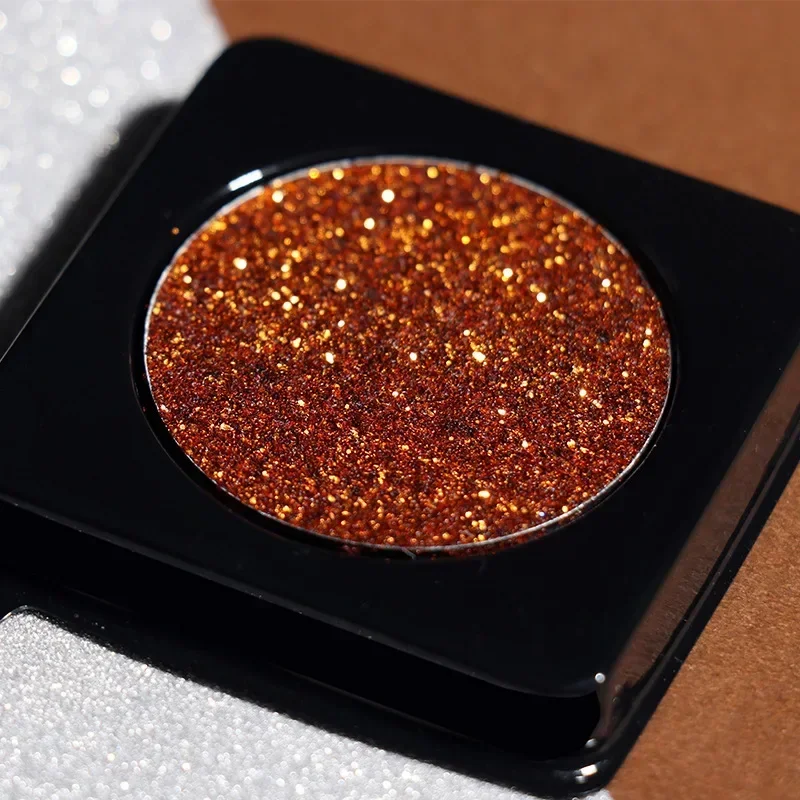
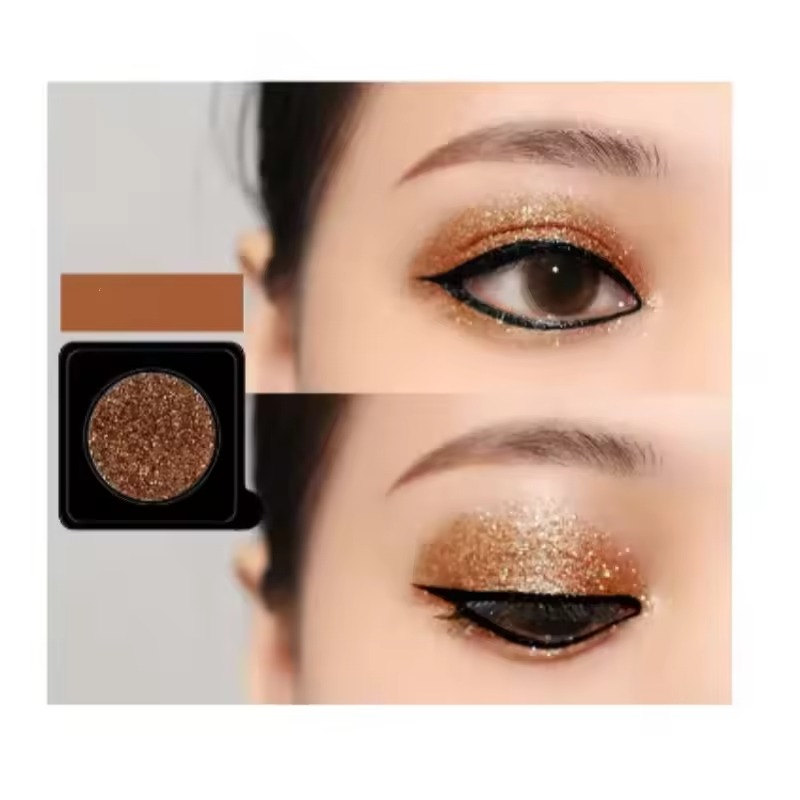
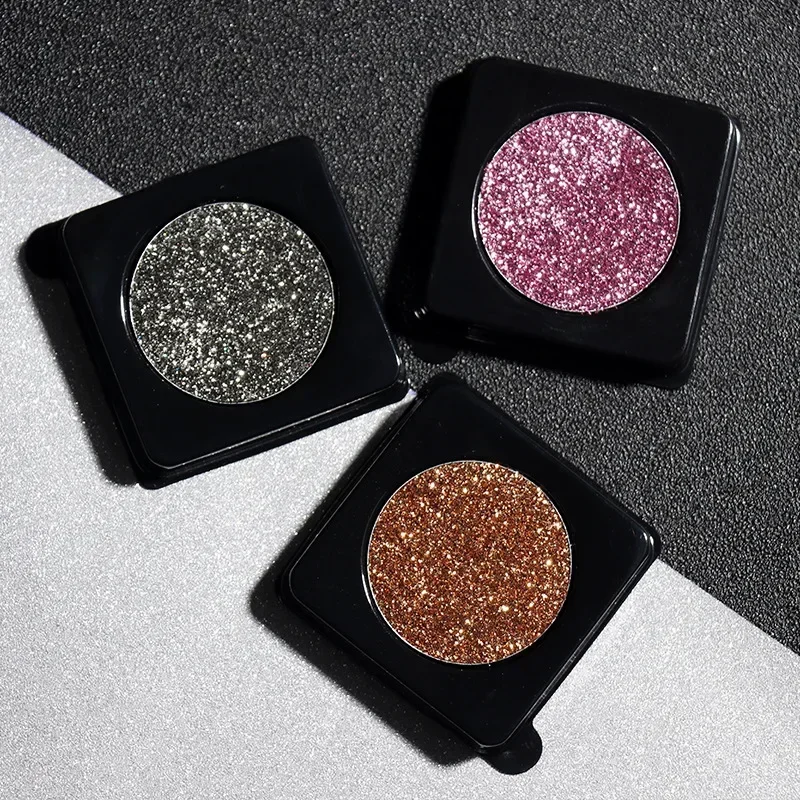
- Glitter Eyeshadows: Glitter adds sparkle and is often found in party makeup. Apply it with a damp brush for more intensity.
Each type has its own blending behavior and intensity of color payoff. Experiment to see which eyeshadow types suit your desired look best. Matte eyeshadows blend smoothly for a diffused effect. Shimmer and metallic shades work well for a vibrant pop of color. Remember, textures can also help define your eye shape and bring out your features.
Choose various types and textures to build a versatile eyeshadow collection. Combining them can add depth and dimension to your eye makeup. With this knowledge, you’re ready to start applying eyeshadow with confidence. Next, we’ll discuss the basic eyeshadow application technique.

The Basic Eyeshadow Application Technique
Mastering the straightforward process of applying eyeshadow is easy. Below are the steps you need to follow for a basic eyeshadow look. These steps are a foundation for any eyeshadow style you wish to achieve.
- Start with the Lightest Color: Usually, this will be your base shade. Apply it over the entire eyelid up to the brow bone. This creates an even base for the following colors.
- Define the Crease: Choose a slightly darker shade to add definition. Sweep the color back and forth along the crease of your eyelid, where your eye naturally folds.
- Add the Main Color: Pick the main color you want to feature. Apply it over your lid, stopping at the crease. You can use a flat brush for a more intense look or a fluffy brush for a softer finish.
- Blend the Shades: Use a blending brush to soften any harsh lines between the colors. Blend in a circular or windshield wiper motion for the best effect.
- Highlight Your Eyes: To make your eyes pop, dab a light, shimmering shade on the inner corners of the eyes and right under the brow bone.
- Adjust and Layer: If you want more intensity or the shades aren’t as vibrant as you’d like, you can layer more eyeshadow on top. Remember, it’s easier to build up color than to take it away.
With these steps, you can create a beautiful eyeshadow look every time. Remember to tailor the intensity to the occasion—light application for day and bolder for night. Practice makes perfect, so don’t be afraid to experiment with combining different shades from your eyeshadow palette.
Blending Eyeshadow Like a Pro
Blending is key in achieving a professional eyeshadow look. Here’s a step-by-step guide to perfect your technique:
- Choose the Right Brush: Use a fluffy brush designed for blending. This brush diffuses eyeshadow edges with ease.
- Use a Light Hand: Start with minimal pressure. You can always add more if needed. This prevents over-blending.
- Circular Motions: Move your brush in small, soft circles. This blends colors without creating harsh lines.
- Windshield Wiper Movements: Back and forth motions mimic a windshield wiper. This technique blends crease colors seamlessly.
- Clean Your Brush: Wipe your brush on a tissue between colors. This keeps the colors true and prevents muddiness.
- Add and Blend Gradually: Apply more color slowly and blend as you go. This builds depth without overdoing it.
- Highlight Right Areas: Don’t forget to highlight your brow bone and inner eye. It brings brightness and lifts the eye.
Use these methods every time you apply eyeshadow. They help create a flawless transition between shades. It’s about blending the right way, not just blending a lot. Practice these pro tips and watch your skills soar!
Defining the Eye: Adding Depth and Dimension
Achieving depth and dimension is key when learning how to put on eyeshadow. This brings life and professionalism to your eye makeup. Let’s break down the steps to create a look with complexity and polish.
- Go for a Medium Shade: After your base, use a medium shade in the crease. This adds soft depth.
- Darken the Outer Corner: Apply a dark eyeshadow on the outer corner of your eyes. Blend it well for dimension.
- Lift with Light Shades: Use light eyeshadow on your lid’s center and inner corner. This makes your eyes look bigger.
- Enhance the Lower Lash Line: Sweep a touch of eyeshadow along your lower lash line. Choose a color that complements your lid.
- Check Your Work: Step back and look. Make sure there’s a balanced graduation of color.
Using these techniques gives your eyes a contoured, defined appearance. By placing shades strategically, eyeshadow can emphasize your natural eye shape. Blend the colors well to avoid harsh lines. These steps can transform a flat look into one with alluring depth and attention-grabbing dimension. Practice these techniques and they will soon become part of your routine when applying eyeshadow.

Finishing Touches: Eyeliner and Mascara
Once your eyeshadow is in place, it’s time for finishing touches. Your eye makeup is nearly complete, but eyeliner and mascara are vital for a polished look. Here’s how to apply them.
- Apply Eyeliner: Choose a color that complements your eyeshadow. Start from the inner corner and draw towards the outer edge of your lid. Keep the line as close to your lashes as possible. For a softer look, you may use a pencil liner or a smudged effect. Liquid liners work well for a sharp, precise line.
- Create a Wing If Desired: A wing can lift and elongate your eye shape. Draw the wing upwards from the outer corner, following the angle of your lower lash line.
- Add Mascara: Coat your lashes with mascara to add volume and length. Start at the base of your lashes and wiggle the wand up to the tips. Apply multiple coats if needed, allowing them to dry between applications.
- Consider Waterproof Formulas: These are great if you need long-lasting wear. Waterproof eyeliner and mascara won’t smudge or run throughout the day.
Eyeliner defines your eyes, and mascara brings out your lashes, creating a frame for your eyeshadow artistry. Keep your hand steady and start with a light application. You can intensify your look as you get more comfortable. Remember to use ‘how to put on eyeshadow’ techniques discussed for a seamless blend with eyeliner and mascara. Your eye makeup is now complete, showcasing your artistry and skill.
Mistakes to Avoid and Tips for Long-Lasting Wear
As you’ve learned how to put on eyeshadow, avoiding common pitfalls is crucial. Here are mistakes to steer clear of and tips for eyeshadow that stays put throughout the day:
- Avoid Skipping Primer: Eyeshadow primer is the key to longevity. Never skip it if you want your look to last.
- Don’t Overapply: Layering too much eyeshadow can lead to creasing. Apply thinly and build as needed.
- Resist Rubbing Your Eyes: Touching or rubbing can smudge your eyeshadow. Be mindful to keep your hard work intact.
- Skip Cream Formulas If Oily: If you have oily lids, use powder instead of cream eyeshadows; they’re less likely to slide.
- Set With Powder: For extra insurance, lightly dust a translucent powder over your eyeshadow.
- Use Waterproof Products: Waterproof eyeliners and mascaras help maintain your eye makeup, especially in humid conditions.
- Check for Allergies: Ensure your products don’t irritate your skin, which could cause rubbing and smudging.
- Clean Brushes Regularly: Dirty brushes can transfer oils and old colors, affecting your eyeshadow’s appearance and wear.
- Refresh Midday if Needed: If your eyeshadow tends to fade, carry a compact palette for quick touch-ups.
By being aware of these tips and tricks, you’re setting yourself up for eyeshadow that impresses from morning to night. Mastering how to put on eyeshadow not only includes the application process but also knowing how to make it last. Keep practicing, and enjoy your flawless eyeshadow looks!