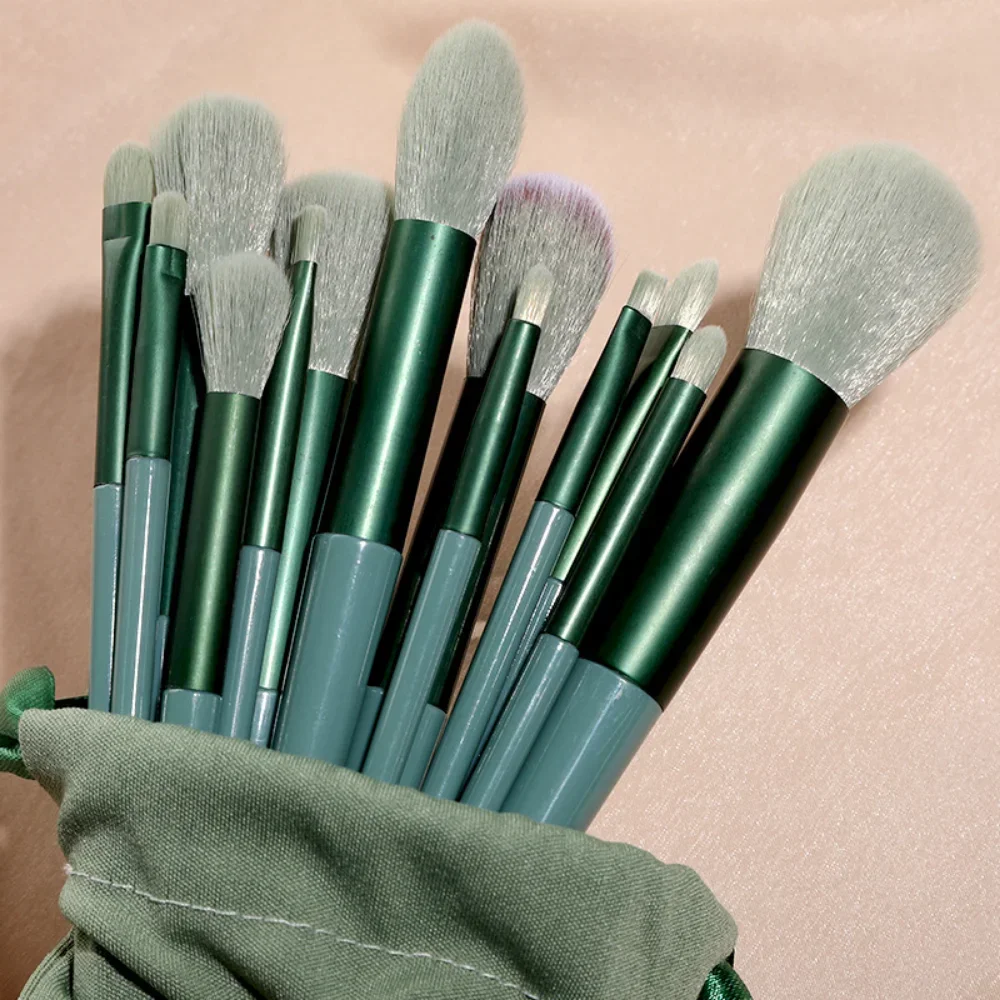
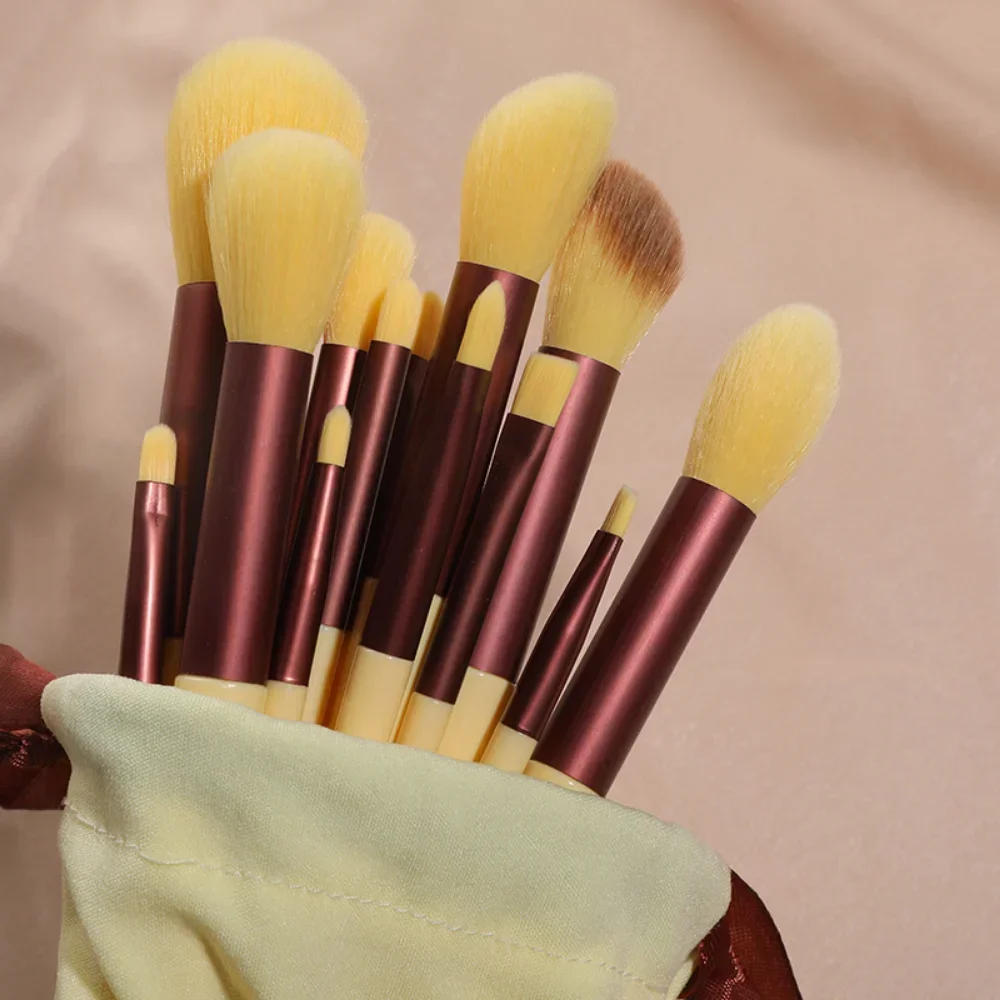
Types of Eyeshadow Brushes
Choosing the correct eyeshadow brush is crucial for creating the desired eye makeup look. Different brushes offer unique benefits, and understanding their functions can significantly enhance your eyeshadow application. Let’s explore the most common types used by makeup enthusiasts and professionals alike.
Flat Shader Brushes
Flat shader brushes are essential for any eyeshadow brush collection. They have dense, flat bristles perfect for packing color onto the eyelids. Use these to apply a bold amount of eyeshadow and to obtain an even, concentrated application of color. Their shape allows you to reach the smaller areas of your eyelid with precision.
Blending Brushes
Blending brushes are the key to achieving a smooth, seamless eyeshadow look. They usually have a fluffy, rounded top that’s designed to diffuse eyeshadow edges. With blending brushes, you can soften harsh lines and create a beautiful gradient between colors. They are especially useful for applying transition shades in the crease of the eyelid.
Angled Eyeshadow Brushes
Angled eyeshadow brushes are your go-to for creating sharp lines and adding definition. Their angled bristles fit perfectly along the lash line and brow bone, making them ideal for a cut-crease look or for applying eyeshadow as eyeliner. They can also be used for filling in eyebrows with a soft, natural finish.
Pencil Brushes
Pencil brushes look like a pencil tip and are perfect for precise detailing. Use them for applying a pop of color on the lower lash line, inner corner, or to define the crease. Their pointed tip makes it easy to add depth and dimension to your eyeshadow look. A pencil brush is a must-have for intricate eye makeup designs.
By selecting the right type of eyeshadow brush, you can greatly enhance the final result of your eyeshadow work. Always ensure that you have at least one of each to create a complete and versatile eyeshadow look.
Selecting the Right Brush for the Eyeshadow Formula
Matching the eyeshadow brush to the eyeshadow formula is key for the best application. Each eyeshadow formula has a texture and consistency that pairs well with specific types of brushes.
Powder Eyeshadows
For powder eyeshadows, flat shader brushes work best. They pack on color for a vibrant finish. You can also use a fluffy blending brush to blend colors seamlessly. For added precision, use an angled brush along the edges.
Cream Eyeshadows
Cream eyeshadows require brushes with firmer bristles. A flat synthetic brush will help spread cream eyeshadows evenly across the eyelid. Blending brushes can soften edges, but should have less fluff so they don’t absorb too much product.
Loose Pigments
Loose pigments can be tricky, but using a dense brush will help control fallout. Dampening a flat brush before dipping into pigment can minimize mess and intensify color. Blending brushes should be used gently to avoid scattering pigment.
Brush Material and Quality
Choosing the right material for your eyeshadow brush is crucial. The type of bristles determines how the brush will interact with the product and the skin. Let’s dive into the key differences between natural and synthetic bristles and consider the importance of brush shape and density.
Natural vs. Synthetic Bristles
Natural bristle brushes come from animal hair, like goat or sable. They are soft and have a natural fluffiness that blends powder eyeshadows effortlessly. People often choose natural bristles for their ability to pick up and distribute pigment evenly.
Synthetic bristle brushes, made from nylon or polyester, do not absorb products as much as natural bristles. This makes them ideal for cream or liquid eyeshadows. Synthetic brushes offer a smooth application and are simpler to clean. They are also a preferred choice for those seeking cruelty-free options.
Brush Shape and Density
The shape and density of an eyeshadow brush affect the application. A brush with a flat, dense shape will apply color more intensely, while a fluffy, rounded brush will give a softer, more diffused look. Dense brushes are perfect for packing on pigment and creating bold color statements.
On the other hand, less dense, fluffy brushes excel in blending and creating smooth transitions between shades. It is essential to have a variety of shapes and densities in your eyeshadow brush collection to achieve numerous eye makeup looks.
Essential Eyeshadow Brushes for a Starter Kit
Building a starter eyeshadow brush kit is like gathering tools for any art. A basic set can create countless looks. Here are the must-have brushes for newcomers to eye makeup.
Flat Shader Brush
A flat shader brush lays down a solid base color. It works wonders with powder eyeshadows. It’s a kit essential for its versatility.
Fluffy Blending Brush
You can’t skip a fluffy blending brush. It’s vital for softening edges and merging shades. Keep one in your kit for a blended, natural finish.
Angled Eyeshadow Brush
An angled eyeshadow brush adds depth and definition. It lines eyes and defines brows with ease. Include at least one for precision work.
Pencil Brush
For detailed eye makeup, a pencil brush is key. Use it to highlight the inner eye or smudge color along the lash line. It’s perfect for finishing touches.
By starting with these eyeshadow brushes, beginners set the stage for more complex makeup artistry in the future. Opt for quality brushes and take care of them. Happy creating!
Step-by-Step Guide on Using Eyeshadow Brushes
Learning to use eyeshadow brushes correctly can transform your eye makeup game. Follow this simple guide for a flawless look.
Applying Base Color
Start with a clean, flat shader brush for your base. Pick up a good amount of powder eyeshadow. Pat it onto the eyelid, creating an even layer. Keep the application light to avoid fallout. This step sets the stage for further details.
Blending and Transitioning Shades
Use a fluffy blending brush for this part. With a windscreen wiper motion, blend the base into the crease. Gradually add transition shades to create depth. Work in layers to achieve a smooth gradient. Remember, less is more when adding new colors.
Defining the Crease and Outer V
Choose an angled eyeshadow brush for precision. Apply darker shadow to the crease and outer V of the eye. Use back and forth motions to define the shape. Build up the color slowly. Blending is key for a seamless transition.
Smudging and Detailing
Finish with a pencil brush for detailing. Add highlights to the inner corner or smudge eyeliner with it. Use precise movements for small areas. A touch of highlight under the brow arch can lift the eye. Be gentle to maintain control over the look.
By mastering each step, you create professional-looking eyeshadow applications. Keep practicing, and don’t be afraid to experiment with different brushes from your eyeshadow brush kit.
Cleaning and Maintenance of Eyeshadow Brushes
Proper cleaning and maintenance of your eyeshadow brushes are critical for the best results. Dirty brushes can lead to muddy colors and skin irritation. Here’s how to keep your brushes in top condition.
Daily Cleaning
After each use, wipe brushes gently with a dry tissue or towel. This removes product buildup and keeps colors true. For a deeper clean, use a daily brush cleaner spray. Just spritz and wipe off the bristles.
Weekly Deep Cleaning
Once a week, wash brushes with a gentle shampoo or brush cleanser. Wet the bristles, apply a small amount of soap, and massage gently. Rinse thoroughly with lukewarm water. Be careful not to soak the handle to protect the glue holding the bristles.
Drying Brushes
After washing, reshape the brush head and lay them flat on a towel to dry. Avoid standing brushes up as water can seep into the handle. Always air dry; never use a blow dryer as it can damage the bristles.
Storage
Keep brushes in a clean, dry place. Use brush holders or bags to protect the bristles from dust and damage. Avoid storing them in humid areas like the bathroom.
By following these simple steps for cleaning and maintenance, your eyeshadow brushes will last longer and perform better. Regular care prevents bacteria growth and ensures that your eyeshadow application remains hygienic and beautiful.
Tips and Tricks for Professional-Looking Eyeshadow Application
Achieving a professional eyeshadow look is all about technique. Below are some tips and tricks that will take your eyeshadow application to the next level.
Start with Good Priming
Apply an eyeshadow primer before anything else. This will help colors pop and last longer. A small dab will do.
Hold Your Brush Correctly
Grip your eyeshadow brush at the end for lighter pressure. This ensures a smoother blend.
Use Tape for Clean Edges
Place a small piece of tape at the outer edge of your eye. This little trick gives you sharp lines with no effort.
Embrace Transition Shades
Transition shades are key for a seamless look. Use them between your base color and darker crease shades.
Layer Your Colors
Build up eyeshadow in thin layers. This will prevent patchiness and give you more control.
Blend, Blend, Blend
Never underestimate the power of blending. Use a clean fluffy brush to blend out harsh lines.
Highlight with Lighter Shades
Apply a lighter shade in the center of your eyelid or the inner corner. This opens up the eyes.
Keep the Lower Lash Line Soft
For a more natural look, use a pencil brush and a soft shade on the lower lash line.
Match Brush to Part of Eye
Use smaller brushes for detailed areas like the inner corner. Save larger brushes for the lid and crease.
By using these tips, you can create eye looks that stand out. Remember to practice and find what works best for you. Keep working with your eyeshadow brush collection and make every stroke count!
Common Mistakes to Avoid with Eyeshadow Brushes
Navigating through the use of eyeshadow brushes may seem straightforward, yet some common blunders can hinder your progress. Steer clear of these frequent missteps to refine your eyeshadow technique.
Skipping Brush Cleaning
Not cleaning your eyeshadow brush leads to color mix-ups and potential skin issues. Make sure to cleanse after every session to keep colors true and avoid irritation.
Using Wrong Brush for the Formula
Mixing up brushes and formulas can ruin application. Use firm brushes for creams and fluffy ones for powders to match the consistency of the product for optimal results.
Overloading the Brush with Product
Piling on too much eyeshadow at once can cause fallout and waste. Dip lightly and build up color to stay in control.
Forgetting to Tap Off Excess
Always remember to tap off excess powder to minimize fallout. This simple step keeps your application tidy.
Neglecting the Importance of Blending
Failing to blend properly results in harsh lines. Use clean, fluffy brushes to soften edges and fuse colors seamlessly.
Ignoring Eye Shape
Different eye shapes need different brush strokes. Understand your eye shape and modify your application accordingly for the best effect.
Investing in Low-Quality Brushes
Cheap brushes often don’t perform well. Invest in high-quality eyeshadow brushes for better precision and durability.
By avoiding these errors, you’ll notice a significant improvement in your eyeshadow applications. Remember that practice makes perfect, and each mistake is an opportunity to learn and grow in your makeup artistry.