Introduction
Concealer is a makeup staple for many individuals. It helps to cover blemishes, dark circles, and imperfections on the skin. This comprehensive guide will help you understand how to use concealer effectively. Whether you are a beginner or looking to refine your technique, this article will provide valuable insights and tips.
Step 1: Prepping the Skin
For concealer to look its best, start with clean, primed skin.

Cleanse and Tone for a Flawless Base
Begin with a gentle cleanser to remove dirt and oils. Use a toner to refine pores and create a smooth canvas.
Hydrate with Moisturizers and Eye Creams
After toning, apply a moisturizer to lock in hydration. Don’t forget an eye cream to hydrate under-eye skin.
Importance of Skin Priming
A primer can smooth fine lines and help makeup last longer. Choose one that suits your skin type for best results.
Step 2: Color Matching and Concealer Selection
Understanding Skin Undertones
Knowing your skin’s undertone is key to selecting the ideal concealer. Undertones fall into three categories: warm, cool, or neutral. Warm undertones show hints of yellow or golden. Cool undertones appear pink, red, or bluish. Neutral is a mix of both. To find yours, look at the veins on your wrist. Greenish veins suggest warm undertones, while blue or purple hints at cool. If it’s hard to tell, you might be neutral.
Choosing the Right Concealer Shade
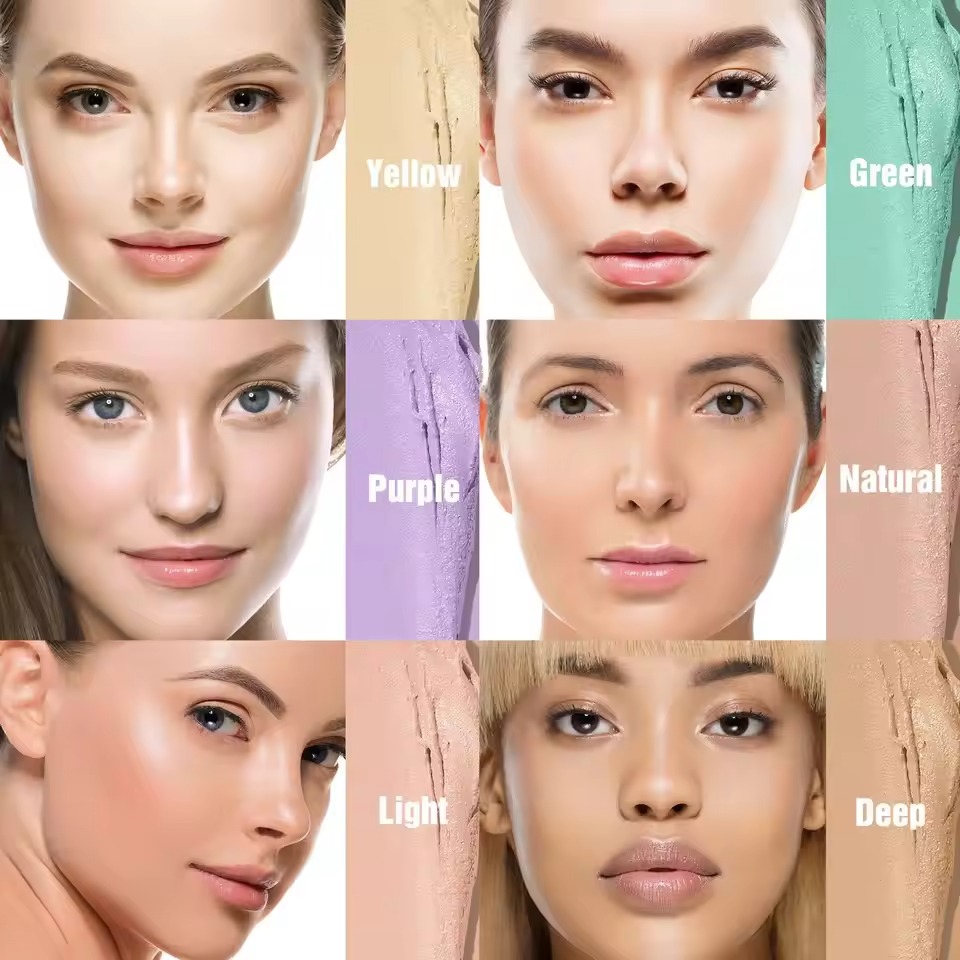
Picking the correct concealer shade ensures a natural match. Aim for a shade that blends flawlessly with your skin tone. For hiding spots or scars, choose a shade that closely resembles your complexion. For under-eye circles, go a shade lighter to brighten. Remember, the goal is to make concealer unnoticeable on your skin.
The Role of Color Correctors
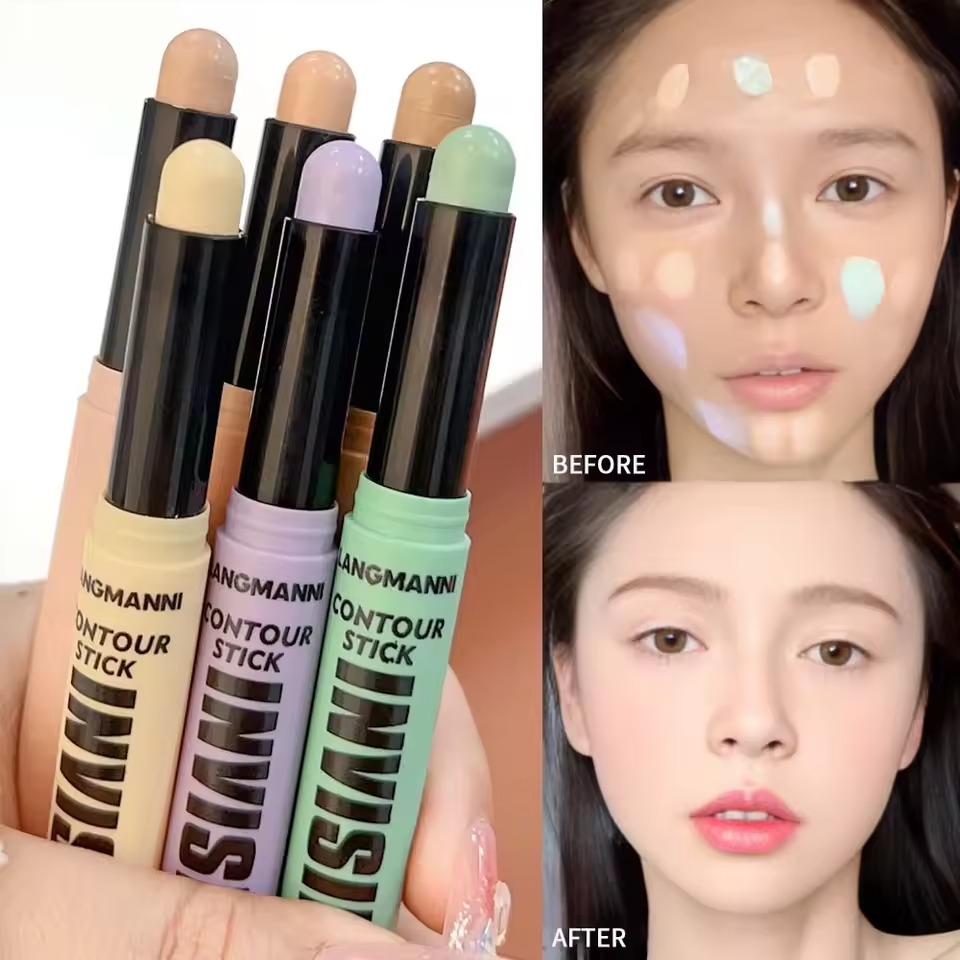
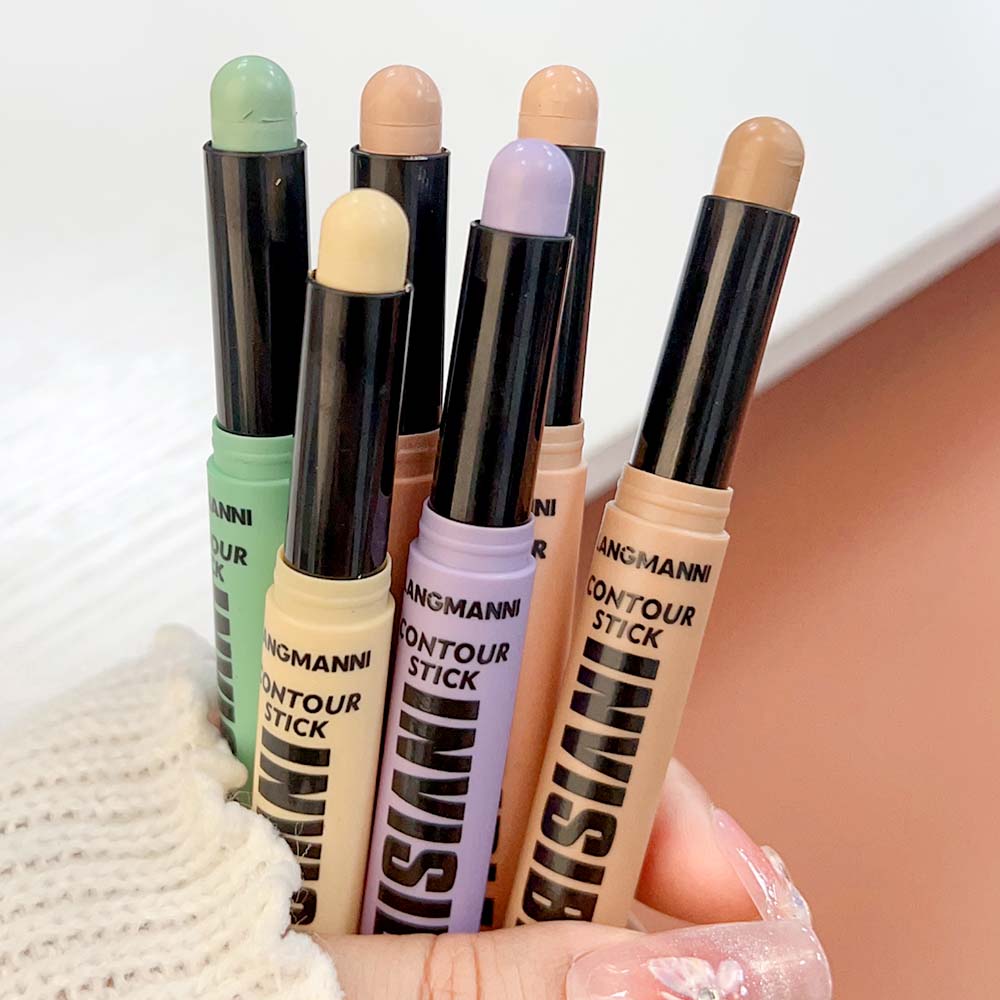
Color correctors can be game-changers. They work by cancelling out discolorations like redness or darkness. Green neutralizes red spots. Yellow combats purple-toned under-eye circles. Peach and orange work on darker areas. Apply correctors before concealer for an even canvas and refined look. They fill in where concealers fall short and ensure a flawless finish.
Step 3: Application Techniques for Different Needs
Brightening Under Eyes
For a more awake look, brightening under eyes is key. Start by using a shade of concealer that is one or two shades lighter than your skin tone. Apply it in a triangle formation with the base along your lower lashes and the point towards your cheek. This method not only covers dark circles but also lifts and illuminates the area. Remember to dab gently for blending—don’t rub.
Blurring Blemishes and Imperfections
Concealer is perfect for hiding spots and imperfections. Choose a shade that matches your skin closely. Gently tap the product on the blemish. Then, use a tiny brush or your fingertip to blend the edges into your skin. This way, the spot gets covered without drawing attention. For larger areas, tap more broadly and blend well.
Contouring and Highlighting with Concealer
Concealer can also shape and define features. Use darker shades to contour and lighter shades to highlight. Apply the darker shade in areas like the hollows of your cheeks and along your jawline. Blend well for a subtle definition. For highlighting, apply a lighter concealer on the high points of your face, like the bridge of your nose and brow bones. Blend smoothly for a natural effect.
Step 4: Tools for Application
To achieve a flawless concealer application, the right tools are essential.
Using Makeup Sponges for Seamless Coverage
Makeup sponges can provide an even, high-coverage finish for concealer. Here’s how to use them effectively:
- Wet the sponge and squeeze out any excess water.
- Dab concealer onto the area you wish to cover.
- Use a stippling motion to blend the product for seamless coverage.
Remember to clean your sponge regularly to maintain hygiene and prevent breakouts.
Applying Concealer with Fingers for a Natural Look
Using your fingers can offer a more natural finish due to the warmth of your skin. To apply concealer with fingers:
- Ensure your hands are clean to avoid transferring bacteria.
- Dot concealer onto the desired area.
- Gently tap to blend, using the warmth of your fingertips to smooth out the product.
Both tools have their place in your makeup routine, and it’s often a matter of personal preference as to which you choose.

Step 5: Setting Your Concealer
The Importance of Setting Powder
Once you’ve applied concealer, setting powder is vital. It locks in your coverage, ensuring it stays put. A light dusting helps prevent the concealer from creasing or smudging as you go about your day. It’s especially helpful in maintaining under-eye concealer, which can be prone to settling into fine lines. Choose a translucent setting powder for an invisible finish, or a tinted one for extra coverage.
Targeting Areas for a Matte Finish
For a shine-free look, focus your setting powder on the T-zone. This area includes the forehead, nose, and chin, and is often oilier than the rest of the face. By targeting it, you keep your skin looking matte and refined. Use a small brush to press powder into these specific areas, blotting away excess oils. This step is a must for a long-lasting, flawless appearance.
Step 6: Concealer Beyond Coverage
Concealer does more than just hide flaws. It can be a powerful tool in your makeup arsenal for several beauty hacks. In this step, we’ll explore how concealer can help with eye makeup and grooming needs, maximizing your product’s potential.
As an Eyeshadow Primer
Using concealer as an eyeshadow primer is a clever trick. Here’s how to do it:
- Apply a tiny amount of concealer on your eyelids.
- Blend it evenly across the lid.
- Set it with a light dusting of powder.
- Apply your eyeshadow as usual.
This method will enhance the color of your eyeshadow and help it last throughout the day without creasing.
Spot-Treating Facial Hair and Brows
Concealer can also tidy up the areas around your eyebrows and facial hair. It sharpens the lines and gives a neat, groomed appearance.
- For brows, apply concealer under the arch and blend.
- For facial hair, use it along edges to define the shape.
- Always choose a concealer shade that matches your skin tone for a natural look.
Use a small brush to apply concealer precisely where you want to tidy up. Then, blend carefully for a polished result.
Step 7: Final Touches and Maintainance
To keep your concealer intact all day, final touches and maintenance are crucial.
Blotting Techniques for Longevity
After applying concealer, oil build-up can happen. Use blotting papers to tackle excess shine. Press gently onto skin, especially the T-zone. This prevents makeup from sliding and extends wear. Avoid rubbing. Instead, blot lightly to maintain concealer coverage.
Refreshing Concealer Throughout the Day
As the day goes on, makeup may need a boost. For a quick refresh, dab on a small amount of concealer. Blend softly with a fingertip or sponge. Reapply setting powder to keep it in place. Remember, use a light hand to avoid caking. This way, your concealer will look fresh from morning to night.
Conclusion: Embrace Your Concealer
Mastering the use of concealer takes practice and experimentation. Understanding your skin type, skin tone, and specific needs will guide you towards the right products. Prepare your skin correctly for the best results. Using the right application techniques helps enhance your natural beauty.
Concealer can transform your makeup routine. It brightens, lifts, and conceals to create a fresh appearance. Embrace this versatile product. Whether you want to cover blemishes or brighten your under-eye area, there’s a technique for you. With this guide, you can feel confident in applying concealer like a pro. Happy concealing!
