The Basics of Blush Application
Blush can transform your makeup look with a touch of color and glow. Understanding the basics of how to use blush ensures a natural, flattering result every time. Let’s dive into the essentials of selecting the right shade and applying it according to your face shape.

Choosing the Right Color
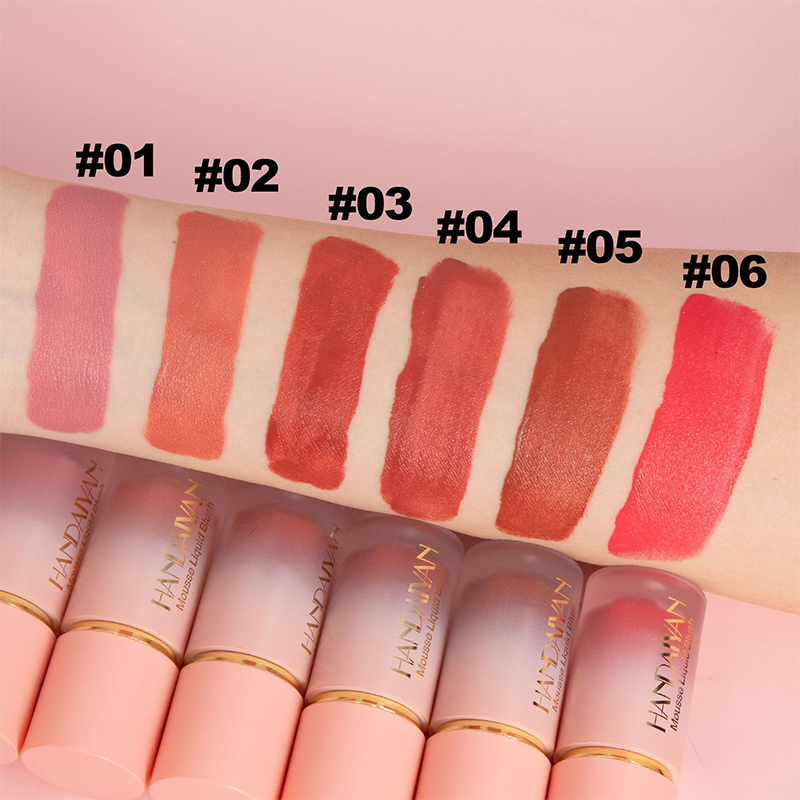
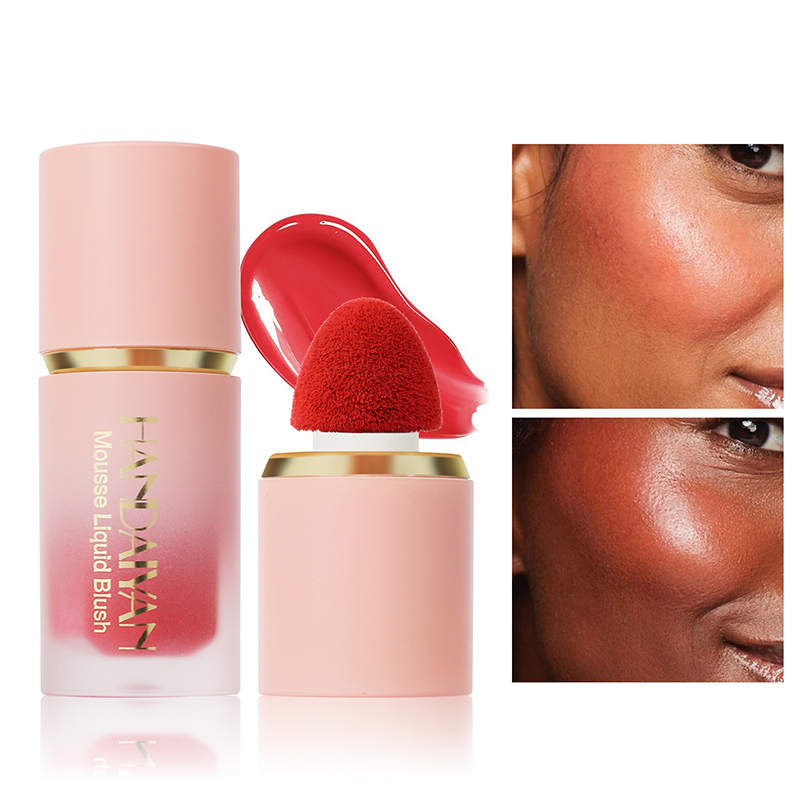
The right color of blush makes all the difference. For a natural look, select a shade that mimics your cheeks when you’re naturally flushed. Fair skin tones often suit soft pink or peach hues, while medium skin tones can opt for rose or mauve. Darker skin tones look stunning in deep fuchsia or warm tawny shades. Always consider the undertone of your skin — cool, warm or neutral — to pick the most complimentary blush.
Determining Your Face Shape
Your face shape is key in deciding where to apply blush. Oval faces can handle blush on the apples of the cheeks, swept lightly up to the temples. Round faces benefit from blush applied slightly to the sides to create an elongating effect. For heart-shaped faces, a touch of color on the outer corners under the cheekbones can soften the face’s angles. Square faces should aim for a soft sweep of blush on the cheekbones to highlight and soften their strong jawline. By determining your face shape, you will enhance your features with precise blush placement.

The Tools You Need for Perfect Blush
Achieving the perfect blush application is not just about technique, but also about using the right tools. Knowing which tools to use can make a significant difference in the ease of application and the final look of your blush.
Types of Brushes
Selecting the right brush is crucial for flawless blush application. For a soft, diffused look, opt for a fluffy, angled blush brush. These brushes are great for sweeping blush across the cheeks smoothly. A smaller, denser brush can provide more precise application, suitable for defining the cheekbones or applying blush to specific areas.
Blending Sponges vs. Fingers
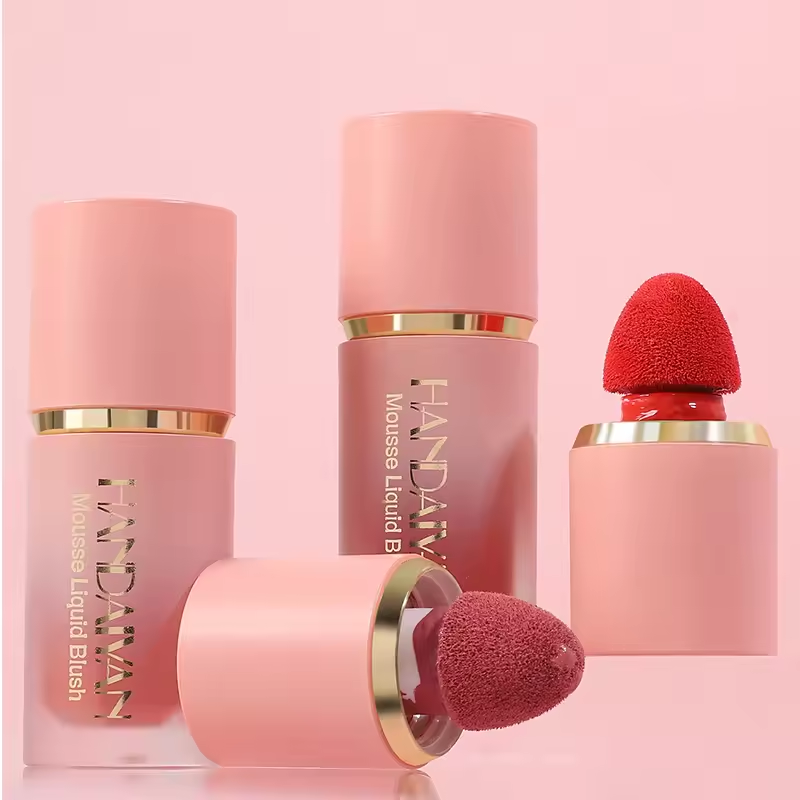
When deciding between blending sponges and fingers, consider the blush formula and the finish you desire. Blending sponges are ideal for cream and liquid blushes. They help achieve a smooth, even layer. Using your fingers can offer excellent control and warmth, which is useful for blending cream blush and creating a natural, skin-like finish. However, for powder blushes, brushes are generally more effective in providing even coverage and preventing patchiness.
Step-by-Step Guide to Applying Blush
Achieving the perfect flush on your cheeks might seem daunting but with a step-by-step guide, you’ll master the art of blush application like a pro. Here’s a walkthrough to help you apply blush for that effortlessly natural-looking cheek color.
Where to Apply Blush on Your Cheeks
First, smile to locate the apples of your cheeks. This is your starting point. For oval faces, apply blush directly on the apples and sweep upwards towards the hairline. If you have a round face, apply blush slightly higher on the cheeks and sweep it towards the ears to elongate your face. For those with heart-shaped faces, concentrate blush on the outer corners of the cheeks, beneath the cheekbones. Square faces will benefit from blush applied directly on the cheekbones, blending towards the temples.
How to Blend for a Natural Look
After you’ve applied the blush to the appropriate area for your face shape, it’s time to blend. Use a clean brush or blending sponge to softly diffuse the edges of the blush into your skin or foundation. Make sure there are no visible lines. Move the brush in light, circular motions for an airbrushed effect. The goal is to mimic a natural flush so blend well, but avoid spreading the blush too wide or too far from where you initially applied it. This keeps the color concentrated where it flatters your face shape the most.
Blush Formulas and How to Use Them
Choosing the right blush formula is crucial for creating the perfect cheek color. It’s important to know how each type works and how to use blush based on the formula you choose. Here’s a brief overview of the most common blusher formulas and tips for using them effectively.
Powder Blush
Powder blush is a classic choice and perfect for beginners. To apply powder blusher, use a fluffy blusher for a light, airy application. Tap off any excess before gently sweeping it over the cheeks. It’s best for oily skin types, as it helps to absorb excess oil.
Cream Blush
Cream blush is fantastic for dry or mature skin, adding a dewy, youthful glow. Warm it up with your fingers and dab onto the apples of your cheeks. Blend outwards with your fingertips or a blending sponge for a seamless look. The warmth of your fingers helps melt the product into the skin for a natural effect.
Liquid and Gel Blushes
Liquid and gel blushes are great for a lasting, natural tint. They can be more intimidating, but they blend into the skin for an ‘inner glow’. Apply a small dot on the cheeks and quickly blend with your fingers or a damp blending sponge. These formulas work well for normal to oily skin and are ideal for active days or in warm climates where powder might not hold up.
Advanced Blush Techniques
To elevate your blush application, consider these advanced techniques.
Layering for Long-Lasting Effects
For blush that stays put all day, layering is key. Start with a cream blush as your base. Apply it to the cheeks and blend carefully. Next, use a powder blusher in a similar shade. Lightly dust it over the cream to set it. This not only provides longevity but also gives depth to the color.
Using Blush for Contouring
Blush isn’t just for the apples of your cheeks. Use a shade slightly darker than your skin tone to contour. Apply it under the cheekbones, blending up towards the ears. This adds definition to your face. Soften any harsh lines with a clean brush for a natural finish.
Troubleshooting Common Blush Mistakes
Navigating through the common pitfalls of blusher application can greatly improve your makeup routine. While blusher can add life and color to the face, mistakes in application can lead to a less than desirable outcome. Here are strategies to avoid common errors and fix them if they happen.
Avoiding Over-Application
Over-applying blush is a common mistake but easily preventable. To avoid heavy-handedness, start with a small amount of product. Tap off any excess blusher from your brush before applying, and use light, feathery strokes. It’s always easier to build up color gradually than to tone it down once over-applied. If you prefer cream or liquid blushes, dot them lightly onto the skin and build intensity as needed. Remember to check your makeup in different lighting to ensure it looks natural.
Fixing Patchy or Uneven Application
If your blush appears patchy or uneven, blending is your best friend. Take a clean brush and use circular motions to blend the blush into your foundation or skin. For stubborn patches, a dab of foundation or concealer can help even things out when applied over the blush. Additionally, applying a translucent powder can smooth any unevenness without altering your blush’s color. Should you need to tone down the intensity, a light swiping of powder foundation over the area can diffuse the color to a softer hue. Keep these tips in mind, and how to use blush becomes clear, ensuring a flawless cheek color every time.
Keeping Your Blush Look Fresh All Day
To keep your blush in place from dawn to dusk, you’ll need the right strategy. A long-lasting look depends on both the application and products you choose for setting your blusher. Follow these tips to ensure your cheeks look freshly flushed all day long. Remember that how to use blush is not only about application but also about maintenance.
Setting Your Blush
Setting your blush is crucial for longevity. Translucent setting powder is your ally here. After applying blush, lightly dust the powder over your cheeks with a fluffy brush. This will lock in the color without altering it. If you’re using cream or liquid blush, give it a moment to dry before setting. A light mist of setting spray can also help to seal the deal. Choose a spray that offers a matte or dewy finish as per your preference. Spritz it over your face to keep your blush from sliding off or fading.
Touch-Up Tips for On-the-Go
Even with proper setting, sometimes a midday touch-up is necessary. Carry a mini blush and travel brush or a blush stick for quick fixes. Blot your cheeks with tissue if they’re oily before reapplying. Tap, don’t swipe, a bit more makeup onto the apples of your cheeks. This method revives your blusher without disturbing the rest of your makeup. If you find a budge-proof formula you love, keep a spare in your bag. Stay equipped with these simple on-the-go solutions, and you’ll never have to worry about dull cheeks halfway through your day.

