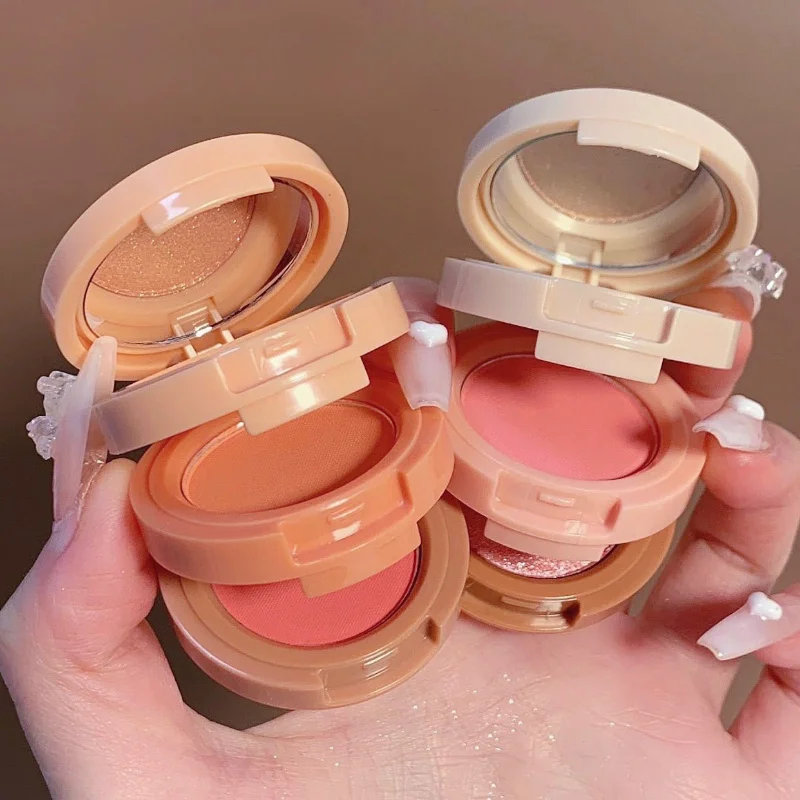
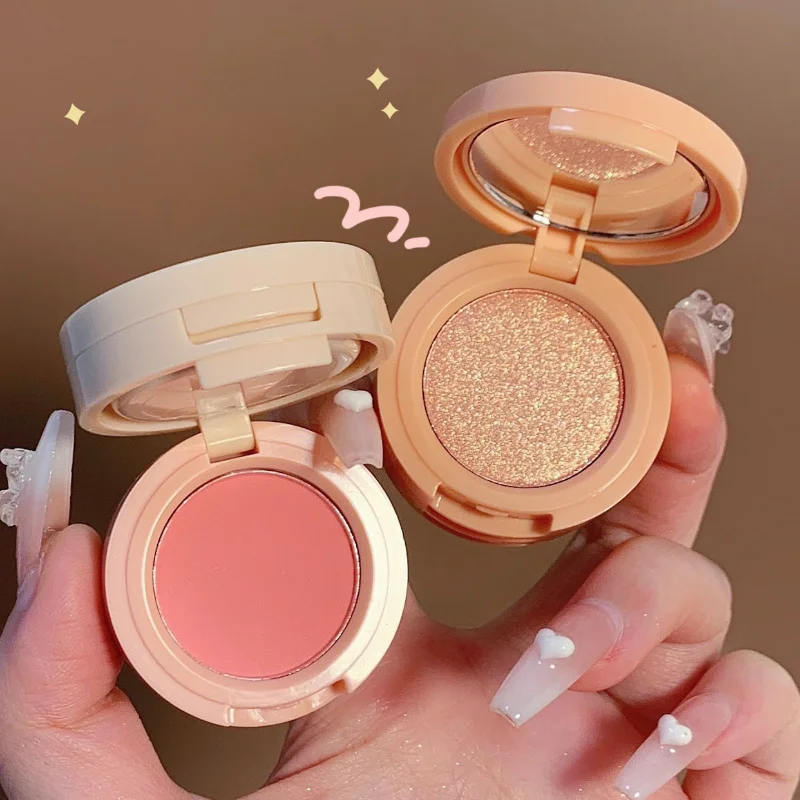
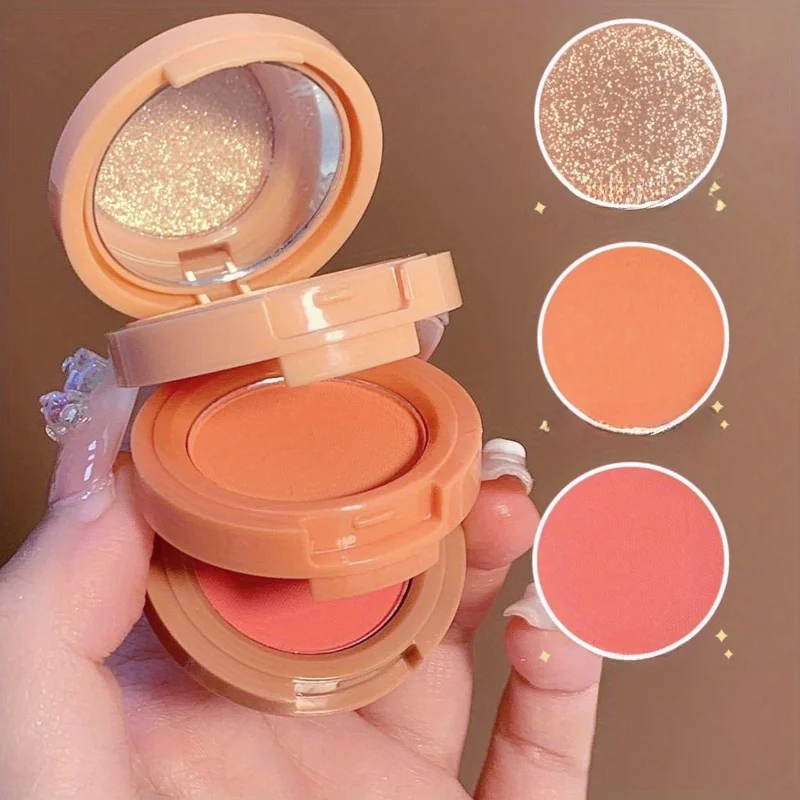
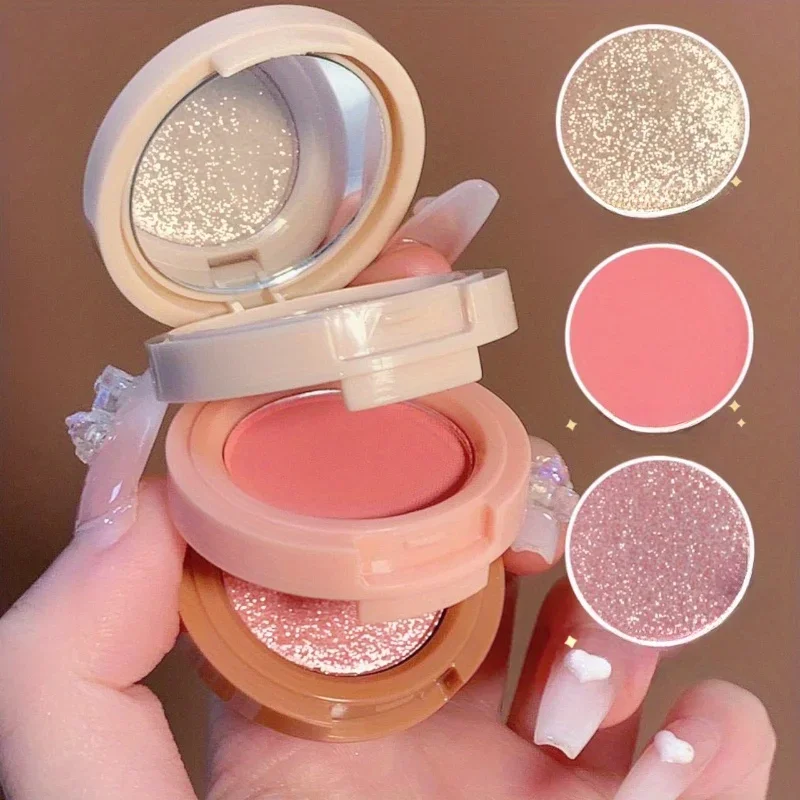
Introductory Remarks
Understanding where to apply highlighter and blush is a subtle art form in the world of makeup. Selecting the right areas to accentuate can illuminate your natural features and enhance your overall appearance. In the following sections, we will delve into how face shapes influence the application of highlighter and blush, offer step-by-step guides, and provide advanced tips for achieving a polished look. Whether you’re aiming for a bold statement or a subtle enhancement, these guidelines will help you master the placement and application of these essential makeup products.

With a focus on face shape, we will explore how to tailor your makeup routine for oval, round, heart-shaped, square, and long face structures. By following these tailored tips, you can enhance your unique features for impactful and flattering results. Let’s begin your journey to accentuating your natural beauty with finesse and confidence.
The Role of Face Shape in Makeup Application
The way you apply your makeup can vastly differ depending on the shape of your face. Knowing whether your face is oval, round, heart-shaped, square, or long helps you apply highlighter and blush to accentuate your best features. Here’s how to customize your makeup application to harmonize with your face shape.
Oval Face Shape Makeup Tips
People with an oval face shape should aim for a soft, subtle blush on the cheekbones. Applying highlighter above the cheekbones and under the eyes brightens the face. You can contour just below the cheekbones for a gentle emphasis of your natural face shape.

Round Face Shape Makeup Guidance
For a round face, lift the appearance by applying blush to the cheeks and extending towards the temples. A dab of blush on the chin can create a more oval illusion. Highlight under the eyes in a triangle shape, and use bronzer around the outer forehead and jawline for a sculpted look.
Tips for a Heart-Shaped Face
Heart-shaped faces benefit from blush applied on the cheekbones, tapering towards the outer eyes. This softens prominent cheekbones. Under-eye highlighter and a touch of bronzer at the temples can balance the broader forehead with the narrow chin area.
Square Face Shape Makeup Strategies
Square faces may apply blush centrally on the cheeks, blending outwards to soften the jawline. Apply highlighter on the forehead and chin, and contour at the temples to round off the forehead’s angularity. Use darker tones subtly on the cheek and jawline to soften angularity.
Long Face Shape Contouring and Highlighting
Long faces can use blush applied horizontally towards the ears rather than upwards. Contouring above the hairline, below the cheekbones, and on the chin can shorten the appearance of the face. Use highlighter under the eyes and on the cheekbones to add dimension.
Remember to choose the right shades and blend well. Contour with a shade two to three times darker than your base, and use lighter concealer for highlights. Now, let’s move on to the step-by-step application.
Step-by-Step Application
Applying makeup in the correct order can enhance the final effect. Let’s dive into the
sequential application steps for blush and highlighter.
Applying Blush: Techniques and Tips
Place blush based on your face shape for the best impact. Here’s a quick guide:
- Smile and apply to the apples of your cheeks for a natural glow.
- For a lifted look, swipe blush along your cheekbones extending toward your temples.
- Blend blush well to avoid harsh lines.
Use less product to start; you can always add more. A fluffy brush is ideal for a
even application.
Highlighter Placement Basics
Aim for areas where light naturally hits your face:
- Sweep highlighter on the highest point of your cheekbones.
- Apply down the bridge of your nose for added definition.
- Dot above your cupid’s bow to make lips appear fuller.
Remember, the key is subtlety when applying highlighter to avoid a shiny complexion.
The Order of Application: Highlighter or Blush First?
There’s debate on which to apply first. However, a general rule is:
- Apply highlighter first for a radiant base, then layer blush for added color.
- For more defined cheeks, apply blush first, followed by highlighter.
Each order can create a different effect, so experiment to see what you prefer.

Choosing the Right Shade
Choosing the correct color for your highlighter and blush is crucial. It can elevate your makeup and complement your skin tone beautifully.
Selecting the Perfect Blush Shade
When selecting a blush shade, consider your complexion’s undertone.
- Cool undertones: Opt for pink or mauve blushes.
- Warm undertones: Peach or coral shades work best.
- Neutral undertones: Almost any color suits well, but try a soft berry shade.
It’s important to test the blush on your cheeks under natural light. This will ensure it harmonizes with your natural skin tone.
Understanding Highlighter Tones for Your Skin Type
Highlighters come in a variety of shades:
- Fair Skin: Look for pearl or silver-based highlighters.
- Medium Skin: Gold or rose gold highlighters complement well.
- Dark Skin: Try using copper or bronze shades.
The reflectiveness of the highlighter should match the lighting in which you’ll be most often. For daily wear, a subtle shimmer works best while intense glow is perfect for evening events.
Choosing the right shades not only enhances your features but also ensures a natural, cohesive look.
Advanced Techniques
Enhancing your makeup skills involves more than just knowing where to apply products. It’s also about mastering advanced techniques like contouring and blending. These methods can elevate your makeup look, creating a more polished and natural appearance.
Contouring with Blush and Highlighter
Contouring is a popular technique that can redefine your facial structure subtly. It involves using products like blush and highlighter to create shadows and highlights.
- Blush for Contouring: Choose a blush one or two shades deeper than your normal color. Apply it below the cheekbones. Blend towards the ears to emphasize the natural shadows of your face.
- Highlighter for Contouring: Use a highlighter to bring forward the areas you want to enhance. Apply it above the cheekbones, on the brow bone, and down the bridge of the nose.
This combination helps in sculpting the face more dynamically, offering a refined look.
Blending for a Natural Look
Blending is key to ensuring your makeup doesn’t look harsh or overdone. Here are quick tips:
- Use the Right Tools: Employ a blending brush for both blush and highlighter. Soft bristles work best for a seamless finish.
- Blend in Circles: Use small, circular motions to blend the blush and highlighter into your base foundation. This prevents any stark lines.
- Layer Wisely: Start with a light hand and add more as needed. It’s easier to add more product than to remove excess.
Mastering these techniques will not only improve your skillset but also enhance your overall makeup application, ensuring a flawless, radiant finish.
Age-Specific Advice
As we age, our skin and its needs evolve, making age-specific makeup advice indispensable. Different stages of life require different application techniques, especially for products like highlighters, which can accentuate fine lines if not applied correctly. Tailoring your makeup routine to your age not only enhances natural beauty but also ensures a graceful and age-appropriate look. Now, let’s focus on highlighter tips for mature skin.
Highlighter Tips for Mature Skin
For mature skin, the key is to emphasize luminosity without highlighting wrinkles or fine lines. Here are practical tips to achieve a flattering glow:
- Go for a Subtle Sheen: Choose highlighters with a subtle shimmer rather than glittery ones. Glitter can settle into wrinkles and draw unwanted attention.
- Focus on the High Points: Apply the highlighter to the highest points of your face where the light naturally hits. These areas include the cheekbones and brow bones.
- Avoid Powder: Opt for cream or liquid highlighters as they tend to sit better on mature skin. Powders can sometimes make the skin look dry or accentuate texture.
- Blend Gently: Use a damp makeup sponge or your fingers to blend the highlighter softly into your skin. This helps to achieve a more natural finish.
- Highlight Strategically: Place highlighter only on areas you want to draw attention to. Highlighting around the eye area can bring a youthful open-eyed effect.
Remember, less is more when it comes to highlighter on mature skin. A light touch can create the desired effect without overdoing it.
Product Recommendations
Finding the right products is essential for achieving the perfect makeup look. Here, we recommend top blushes and highlighters suited for various skin tones and types.
Recommended Blushes for a Flawless Glow
When selecting a blush, you want one that offers a natural flush and blends seamlessly. Here are some blushes that deliver a flawless glow:
- Soft Pink Shades: Ideal for fair to medium skin, they provide a gentle color.
- Peach Tones: Great for warm skin tones, they add a fresh look.
- Berry Blush: Works well on darker skin tones, offering a rich pop of color.
- Cream Formulas: They give a dewy finish, perfect for dry or mature skin.
- Powder Blushes: Good for oily skin as they help absorb excess shine.
Choose a blush that complements your skin’s undertone and test it in natural light.
Top Highlighters for Every Skin Tone
Highlighters should give your skin a natural, lit-from-within glow. Here are some universally flattering options:
- Liquid Highlighters: They offer a luminous sheen, suitable for all skin types.
- Pressed Powder: Easy to apply, ideal for combination to oily skin.
- Stick Highlighters: Convenient for touch-ups and work well for normal to dry skin.
Opt for pearl-toned highlighters for fair skin, rose gold for medium complexions, and bronze for darker skin tones. Remember, blending is crucial for a natural finish.
With the right shades and formulas, these product recommendations can help enhance your natural beauty and ensure your makeup is always on point.
