Introduction
Blush serves as a beautiful finishing touch to any makeup look. It adds warmth and a natural flush to the skin, creating a youthful and healthy appearance. However, the art of blush placement can often be misunderstood, leading to makeup mishaps. In this guide, we will explore different blush placements, the best techniques for application, and how to enhance your facial features through the strategic use of blush.

Understanding Blush Types
Before we dive into placements, it’s essential to understand the types of blush available. Blush comes in various formulas, including powder, cream, gel, and liquid. Each type has different characteristics that can affect how you apply and position it on your cheeks.
Powder Blush
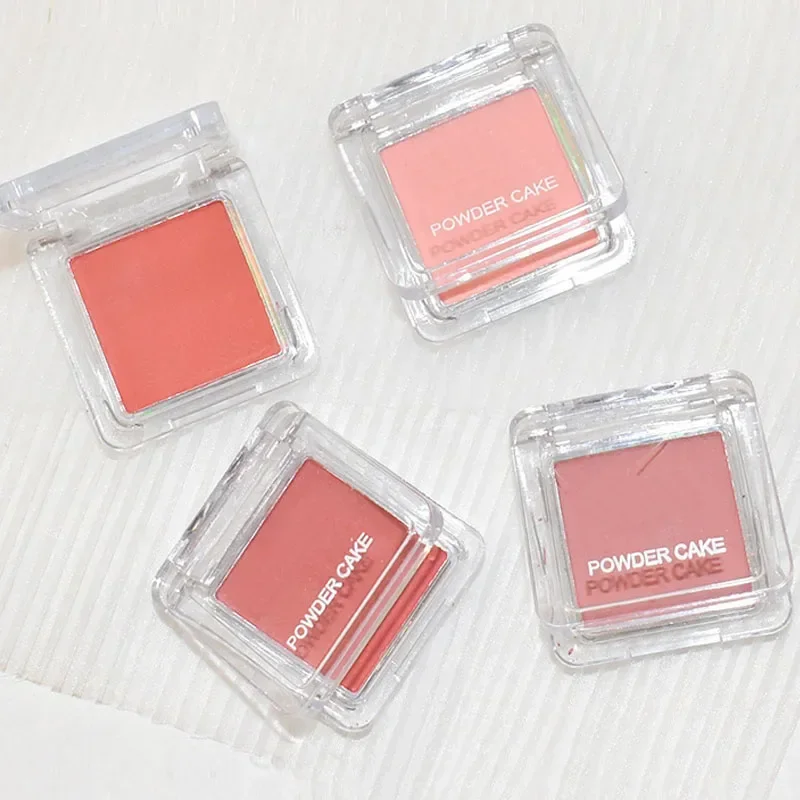
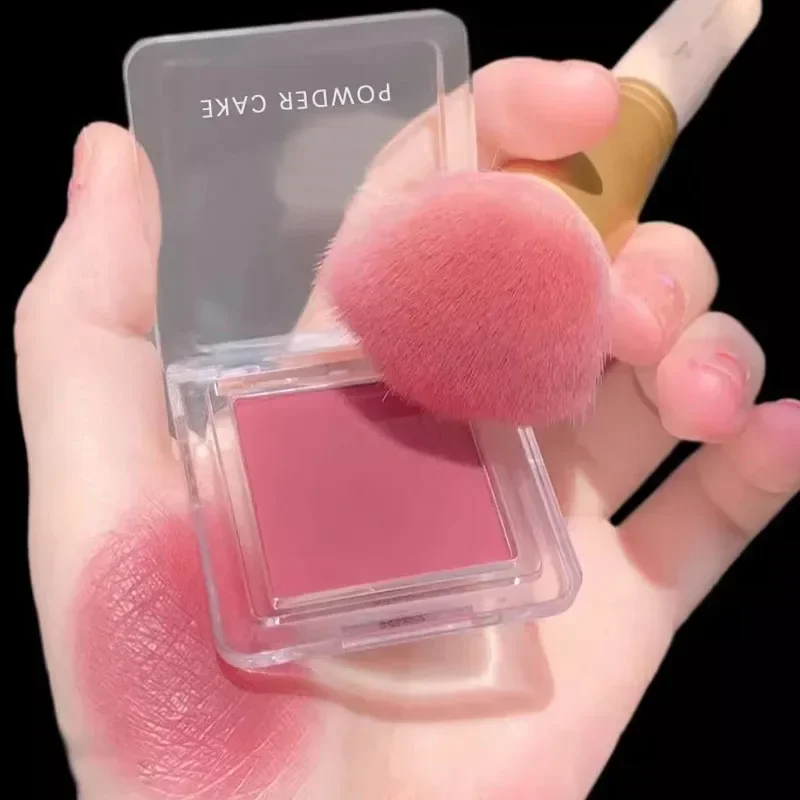
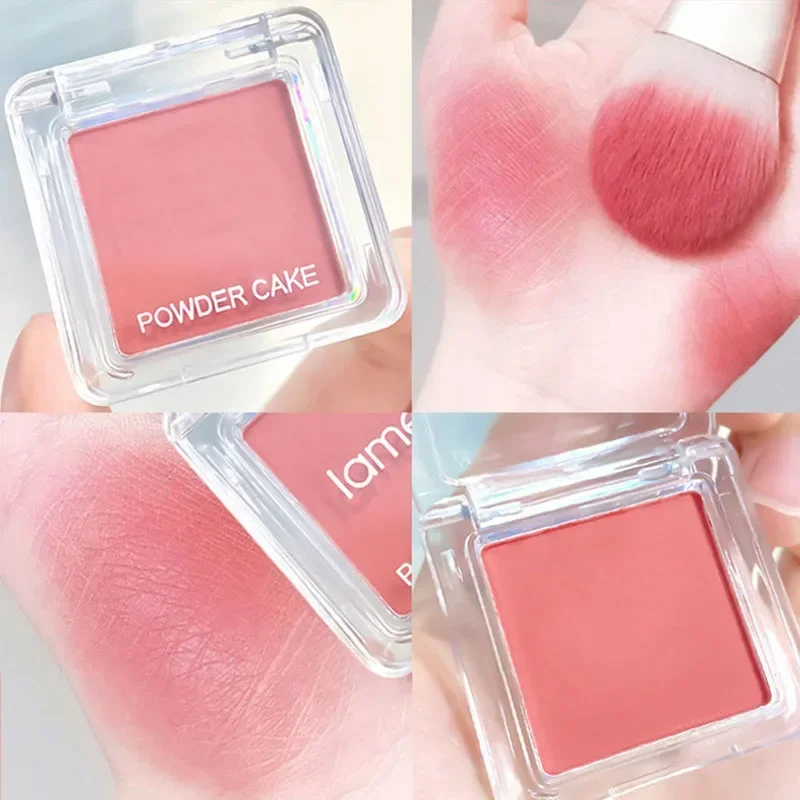
Powder blush is the most common and widely used form. It offers a matte finish and is relatively easy to apply. The key to using powder blush is to choose the right brush, which can vary in size and shape based on your desired look. A larger, fluffier brush gives a softer finish, while a smaller, denser brush provides more color intensity.
Cream Blush
Cream blush provides a more dewy and natural finish. It’s perfect for dry skin types since it can add hydration. To apply, you can use your fingers or a makeup sponge for a seamless blend. Cream formulas tend to be more pigmented, so a little goes a long way.
Gel and Liquid Blush
Gel and liquid blushes are newer innovations in the makeup industry. They often provide a lightweight feel and a natural-looking finish. They blend easily into the skin, making them great for a sheer, fresh look. Like cream blushes, these formulas can also be applied with fingers or brushes.
Understanding the differences among these formulas helps determine how we will apply them. Each type has nuances in application that can affect blush placement on the face.
Traditional Placement Techniques
Blush placement is crucial for defining your face shape and achieving that sought-after healthy glow. Traditional placement often emphasizes the apples of your cheeks, thus creating a youthful look. To find your apples, smile and identify where your cheeks naturally puff out.

Application on the Apples of Your Cheeks
To achieve the classic appearance, apply the blush directly on the apples of your cheeks. Use a fluffy brush for powder blush or stipple with your fingers for cream formulas. Start with a small amount of product. You can always build up more color if needed.
Blend the blush toward your temples using circular motions to avoid harsh lines. This technique helps lift the face and adds dimension. Always remember to blend well! Harsh lines can make your makeup look unpolished.
Using the apples of your cheeks as a guide works for most face shapes. However, know that each face can benefit from tailored placements to accentuate unique features.
Enhancing Facial Features
While the classic application technique suits many individuals, personalized placements can elevate your makeup game. By modifying the blush position, you can highlight your favorite features while downplaying the less desirable ones.
Face Shapes and Blush Placement
The shape of your face plays a significant role in how you should place your blush. There are six primary face shapes: oval, round, square, rectangular, heart, and diamond. Understanding your face shape can help you modify your blush placements effectively.

Oval Face Shape
If you have an oval face, you are fortunate! Almost any blush placement works for you. The classic placement on the apples is still favored, but you can also apply blush slightly higher on the cheeks toward the temples. This technique can elongate your face without adding width.
Round Face Shape
For those with a round face shape, start with blush on the apples. Then, blend it slightly upward toward the temples. This technique creates the illusion of a more sculpted, elongated look. Avoid placing too much color on the sides of your cheeks, as it may emphasize your roundness.
Square Face Shape
Individuals with a square face should apply blush slightly above the apples and blend toward the hairline. This placement softens the strong angles of your jaw. Avoid placing blush directly on the apples, as it may accentuate the squareness.
Rectangular Face Shape
To soften a rectangular face, apply blush on the upper part of the cheekbone and blend it horizontally toward the outer edges of the face. This placement adds width and balance, preventing the face from appearing too elongated.
Heart Face Shape
For heart-shaped faces, focus on applying blush to the apples and blending diagonally upward towards the temples. This technique helps soften a wider forehead and narrow chin, creating harmony across your features.
Diamond Face Shape
Individuals with a diamond shape should apply blush beneath the cheekbones and blend upward toward the temples. This technique prevents emphasis on the cheekbones’ width and visually elongates the face.
By varying blush placement according to your face shape, you can achieve a more balanced and aesthetically pleasing look.
The Importance of Skin Tone and Blush Colors
Blush placement is not only about technique; it also involves choosing the right color based on your skin tone. Understanding how different blush shades interact with your undertone can dramatically enhance your makeup look.
Determining Your Skin Tone
To identify your skin tone, check the veins on your wrist. If they appear blue, you likely have a cool undertone. Greenish veins indicate a warm undertone. If you see a mix of both, you may have a neutral undertone. Knowing your undertone guides you in selecting blush colors that complement your natural skin.
Suggested Blush Colors
For warm undertones, coral, peach, and warm pink shades are perfect choices. These colors add a refreshing glow and brighten your complexion. Cool undertones benefit from berry, rose, and mauve shades that have a flattering contrast against their skin. Neutral undertones can usually experiment with almost any shade, but soft pinks or apricot work wonderfully.
Choosing the right color for your skin tone can enhance the effectiveness of your blush placement. Make sure to test a few shades to see what looks best against your skin.
Seasonal Changes and Blush Placement
Your blush routine may change throughout the seasons due to weather, skin texture, and even wardrobe. For example, summer often calls for a lighter application and brighter colors, while winter may lead people to reach for deeper, richer shades.
Summer Blush Placement
During the sunny months, aim for a sun-kissed look. Use a light hand with gel or cream blush and apply it directly to the apples of your cheeks. This placement can mimic that natural blush you get from the sun. Choose shades like peach, coral, or even a bright pink to reflect a lively, cheerful mood.
Winter Blush Placement
In winter, skin often turns paler due to less sun exposure. Opt for deeper shades, such as plum or mauve, to add warmth back to your complexion. Apply these shades higher on the cheeks and blend towards the temples. This technique not only warms your look but also shapes your face in a more refined manner.
Adapting your blush placement and color selections to seasonal changes can keep your makeup fresh, vibrant, and suitable for the weather.
Blush Over Highlight: Finding the Right Balance
Blush and highlighter complement each other beautifully. However, knowing how to balance their placements can create a more harmonious look. Too much highlight can overpower your blush, while too little can make the overall look appear flat.
The Right Amount of Highlight
For a fresh look, apply highlighter to the high points of your face—on top of the cheekbones, down the bridge of the nose, and on your cupid’s bow. When using highlighted products, be cautious about glittery formulas, as they can compete with the natural glow provided by blush.
Complementing Blush with Highlighter
Integrate your blush and highlighter by blending the two for a seamless transition. After the blush has been applied, follow with highlighter. Ensure to place it slightly above the blush, so it catches light and accentuates without overshadowing.
This integrated approach can add depth and dimension to your makeup, creating a beautiful look suitable for any occasion.
Conclusion: Mastering Blush Placement
Mastering blush placement is a skill every makeup enthusiast can learn. Understanding the basics of application based on face shape, skin tone, and seasonal trends allows for personalized and flattering results.
As you explore different techniques, remember that practice makes perfect! Experimentation will help you discover what works best for you. With patience and practice, you will gain confidence and achieve that gorgeous, glowing complexion that blush can effortlessly provide.
