Selecting the Right Blush Shade for Your Skin Tone
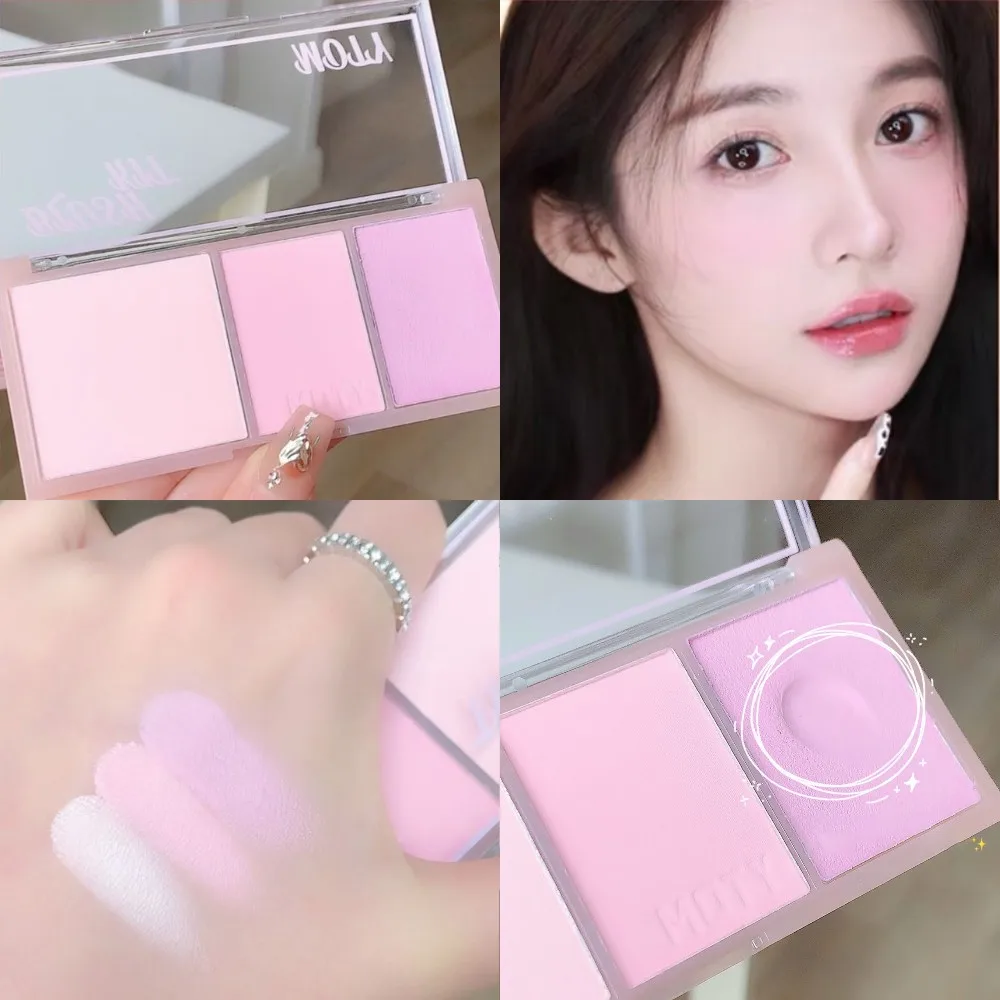
How to blush can elevate your makeup to professional levels? It should match your skin tone and add warmth to your face.
Fair Skin Tones
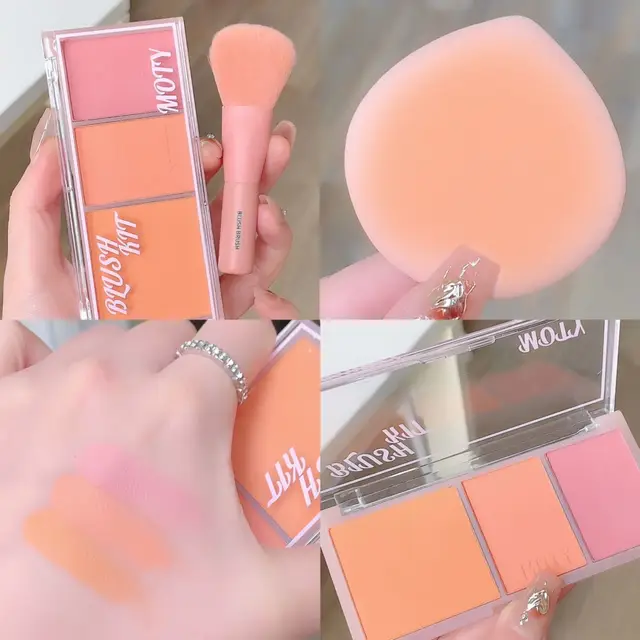
If you have fair skin, go for soft shades like peach or light pink. These hues will give you a gentle flush without overwhelming your complexion.
Medium Skin Tones
For medium skin, opt for rich pinks or warm mauves. They add the perfect amount of color to enhance your natural glow.
Olive Skin Tones
Olive skin looks radiant with rose, apricot, or even muted bronze tones. They complement the natural green undertones of your skin.
Dark Skin Tones
Deep skin tones can carry off bold shades. Warm reds, plums, or ruby pinks look stunning and natural on darker complexions.
When you learn how to blush right for your skin tone, your face looks fresh and lively. Always start with a light hand and build the color to the desired intensity. With practice, you’ll find the shade that makes your skin look its best.

Powder vs. Cream vs. Stain Blush Formulas
Choosing the right blush formula is vital for a seamless finish. Each type caters to different skin needs and provides unique effects. Understanding these will help you decide how to blush flawlessly.
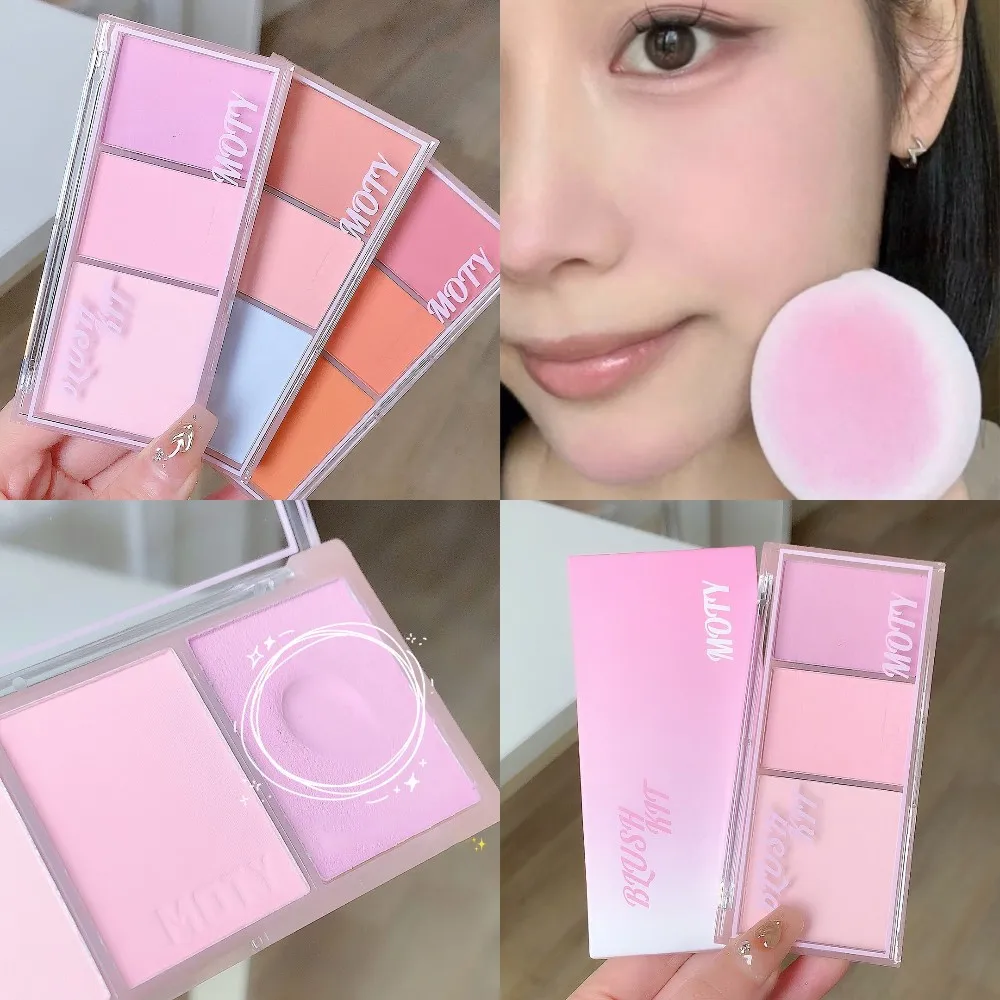
Powder Blush
Powder blush is the most common and versatile. It works well for oily skin by absorbing excess oil. A powder blush gives a matte finish and is easy to apply for beginners. It’s ideal for a polished, airbrushed look. People with any skin type can choose powder for its long-lasting effect. Remember to tap off excess powder to avoid a heavy application.
Cream Blush
Cream blushes offer a dewy finish that’s perfect for normal to dry skin. They blend into the skin, creating a natural-looking flush. If you have mature skin, cream formulas can add moisture and radiance. However, if your skin is oily, it’s best to avoid cream as it may slide off quickly.
Stain Blush
Stains are great for long-lasting wear and work on all skin types. They deliver a translucent wash of color that mimics a natural flush. Stains dry fast, so work quickly to blend them out. They’re perfect for active days when you need your blush to last without touch-ups.
Pick a formula that compliments your skin type and the look you’re aiming for. Powder for control, cream for radiance, and stain for durability. Test different formulas to find your ideal blush match.
Essential Steps Before Applying Blush
Skin Preparation for Flawless Application
Before you reach for your blusher, make sure your skin is ready. Here’s how to prep:
- Start with a clean face. Use a gentle cleanser to wash away dirt and oil.
- If you see flakes, exfoliate gently. This smooths out your skin’s surface.
- Use a hydrating serum, which adds moisture and plumps up your skin.
- Apply a good moisturizer. Choose one that suits your skin type and absorbs well.
- Finish with a primer. It gives your makeup a base to stick to and helps it last longer.
Great skin prep can prevent makeup mishaps like patchiness or sliding off.
Hydration and Priming
Keeping your skin hydrated is key for a flawless blush application. Here’s what to do:
- Drink plenty of water. This is good for overall skin health.
- Find a hydrating serum that fits your skin. It’s like a drink for your face.
- Choose a moisturizer that won’t feel heavy. A light one works best before makeup.
- Use a primer to lock in hydration and smooth out your base.
- If you have dry skin, avoid matte primers. Go for a radiant or hydrating formula instead.
Hydration makes a smooth canvas. Priming helps your blush blend seamlessly and stay put.
The Perfect Brush for Applying Blush
Choosing the right blush brush is crucial for achieving a flawless application. When you understand how to blusher using the best tools, your makeup will look natural and well-blended.
The ideal blush brush has a few key characteristics:
- Dome-shaped: This shape allows for precise application and even distribution of color.
- Soft bristles: They pick up the right amount of product and feel gentle on your skin.
- Fluffy texture: A fluffy brush ensures a light and airy application, preventing too much blush from being applied at once.
Avoid brushes with tightly packed bristles. They can apply too much color, making it harder to achieve a subtle look. Remember, you can always add more blush if needed, but it’s harder to remove excess.
Using a proper brush, dip into the blush lightly and tap off extra powder. Sweep the blush onto your cheeks in the direction that flatters your face shape. Blend well for a seamless finish.
For cream or stain blush formulas, consider using a stippling brush or your fingers. Stipple brushes allow for a light application that can be built up gradually. Your fingers can warm up the cream blush, making it easier to blend into your skin.
Ultimately, the perfect brush makes a big difference. With the right brush, you’ll know how to blush in a way that enhances your face’s natural beauty.
Blush Placement for Different Face Shapes
Knowing how to blush correctly for your face shape can enhance your features and create balanced proportions. Here’s how to apply blush for each face shape to achieve a flattering look.
Blush for a Round Face
If your face is round, avoid the apples of your cheeks. Apply your blush slightly lower, aiming for a diagonal line towards your ears. This technique helps elongate your face and give an angular appearance.

Blush for a Heart-Shaped Face
For heart-shaped faces, start at the apples and sweep upwards towards the temples. This draws attention to your eyes and balances the narrower chin.
Blush for a Square Face
Square faces should focus blush on the apples of the cheeks. Blend well with circular motions to soften the jawline and forehead.
Blush for a Diamond Face
Diamond faces look best with blush on the top of the cheekbones. Blend towards the ears to highlight your natural contours and soften angular features.
Blush for an Oval Face
Oval faces can wear blush on the apples, blending outwards. This adds dimension and maintains the face’s natural balance.
Blush for Oblong/Long Faces
Apply blush across your cheekbones and blend towards the ears. This technique will help shorten the appearance of your face.
Blush for Triangular Faces
Apply in a sideways V on your cheekbones. Extend the blush towards your temples and slightly over your brow. This balances a wide forehead with the rest of your face.
Each face shape has its unique way to blush. Follow these tips to accentuate your features and complement your natural bone structure.

How to Blend Blush for a Natural Look
Blending blush is vital for a soft, natural effect. Here are key pointers for blending success:
- Start with less. It’s easier to add more blush than to take away excess.
- Use the right tool. A fluffy brush for powders, fingers or a stippling brush for creams.
- Apply with light strokes. Gentle, feathery strokes help evenly distribute blush and avoid overdoing it.
- Blend upwards and outwards. Moving from the apple of your cheeks towards the temples creates a lifted effect.
- Focusing on edges. Pay extra attention to the edges for seamless integration with your skin tone.
- Build gradually. Layer the blush for more intensity, ensuring each layer is well-blended.
- Check different angles. Look at your face from various angles to ensure no harsh lines remain.
Understanding how to blush with a natural look can elevate your makeup game. Practice these steps to perfect your technique.